50 Metal Detecting Tips in the Woods
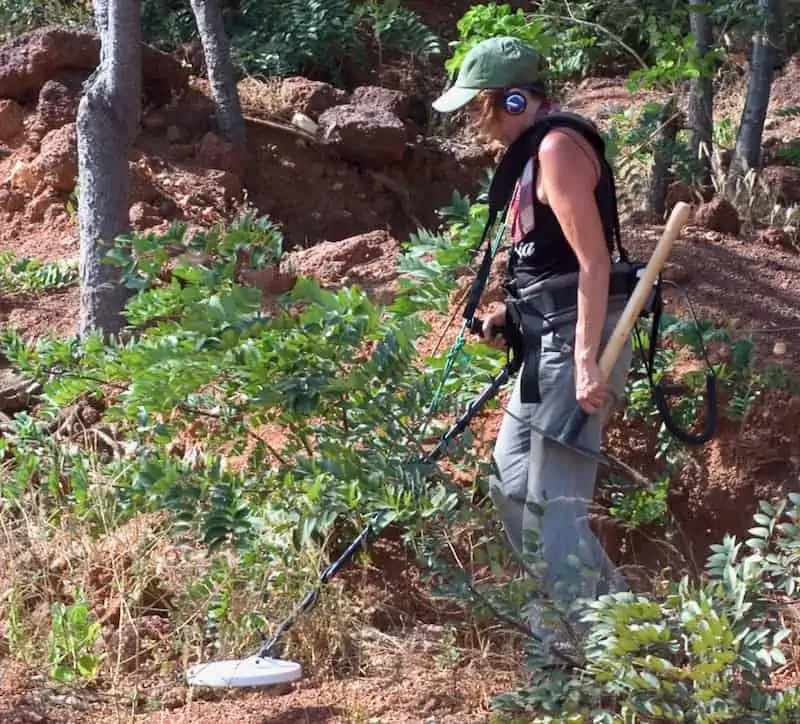
Metal detecting in the forest is one of my favorite hobbies. The surroundings are so serene and quiet. Depending on what part of the country you are in, forested areas contain many treasures.
My last hunt in the woods ended with me finding several pieces of native silver! I usually find old mining relics and plenty of trash. But it is a great way to spend the day!
This article will give you several tips for metal detecting in the woods to make your metal detecting hunt in the woods successful! And before we begin, please take a moment to view the guide below that showcases a handful of the top affordable metal detectors available on the market:
| Photo | Model | Price | Features |
|---|---|---|---|
 | XP Deus Wireless | $$$ | 11” DD Coil |
 | Garrett AT Max | $$$ | Waterproof to 10 feet |
| Bounty Hunter TK4 Tracker IV | $ | 8” Waterproof Coil |
Metal Detecting Tips in the Woods
Let’s kick this off with probably one of the most basic tips you could expect, which is plan your trip or metal detecting hunt very well in advance.
1) Plan Your Trip Well
All metal detecting trips are more successful if you plan well. It is important to make a checklist of what you will bring along (gear, accessories, first aid, supplies, etc.). I like to take several days to plan out exactly what I will need to take on my trips. The checklist will help ensure you don’t forget anything.
2) Research Your Area
It pays to do a little research on the types of activities that have occurred in your chosen area. Many wooded areas house old mines, old logging sites, cabins, trails, and ranches. It will make your trip easier if you go into it with an idea of where to look and what to look for.
There may be abandoned gold, silver, or other precious metal mines in the area. Have a good idea of what you may encounter before you head out.
3) Consider Detecting While You Camp
One of my favorite things to do in the woods is spend the day detecting, then come back to a campsite. This way, I get to detect for several days, get in some good hiking time, see some beautiful scenery, and potentially come away with some loot!
It can be exhausting to hike all day long then drive home. If you are close to the wooded areas (It is a couple hours’ drive for me) you don’t always have to camp to detect.
But is sure is fun!
4) Choose the Right Metal Detector
It pays to know something about the type of soil you will be detecting in. My last trip to Utah we found highly mineralized soils that made our metal detectors act erratically. You can use a very low frequency (VLF) or pulse induction (PI) detector.
If your mountainous areas have had mining activity in the past, highly mineralized soil may be present. I would recommend a detector with good ground balancing.
5) Choose a Detector for Your Skill Level
Don’t be fooled into thinking that if you buy the best, top of the line, expensive metal detector you will have better luck. A metal detector is only as good as the person who is running it. If you are inexperienced, save yourself some heartache and purchase a detector more catered to your skill level.
Most entry level and intermediate detectors work very well for new and mid-level detectorists. No need to spend thousands of dollars to enjoy your hobby!
6) VLF Detectors
Many of the most common metal detectors are VLF detectors. Some VLF detectors have automatic ground balancing and may not be well suited to environments with highly mineralized soils. VLF detectors are getting much more advanced and have better ground balancing on newer and more expensive models. One VLF detector I always recommend is the Garrett AT Pro.
It is great at finding relics, coins, jewelry, and prospecting. It is even waterproof to 10 feet, so you can check out any creeks or rivers you find and not worry about ruining your detector if you drop it in the water. A less expensive model I also really like is the Fisher F22. This machine has good ground balancing, and a waterproof coil (coil only, not the control box). The AT Pro has better ground balancing, but the F22 handles its own.
7) PI Detectors
PI detectors typically work better in highly mineralized soils than many VLF machines. They also cost more. The Garrett ATX is one of the best PI detectors out there. It is all-terrain, ruggedly built. But it does return great signals. White’s TDI SL is a great PI detector and less expensive than the Garrett ATX. Both machines will return signals well in the woods.
8) Choose the Right Search Coil
Many metal detector models have interchangeable search coils. Concentric coils search deeper than wide scan but will not discriminate the same.
Large search coils will find larger targets buried deeper, but smaller coils can fit into smaller spaces and operate more smoothly in highly mineralized soils. Research which type of coil would work best for your chosen soil type.
9) Pinpointers
I recommend bringing a handheld pinpointer with you when you detect in the woods. These can be handy to fine tune the location of a target and will help you not have to dig such a big hole. Most metal detectors have a pinpoint mode, but the smaller handheld pointers are easier to get into small places.
I have used mine to check between large rocks where my detector coil would never fit. They sure come in handy! The Garrett Pro Pointer AT is a great pointer and waterproof.
10) Accessories
As with any metal detecting trip, a hunt in the woods requires accessories besides your detecting equipment. You will want to bring a full sized, heavy duty shovel. I made the mistake of taking a shorter shovel last time because it was easier to carry.
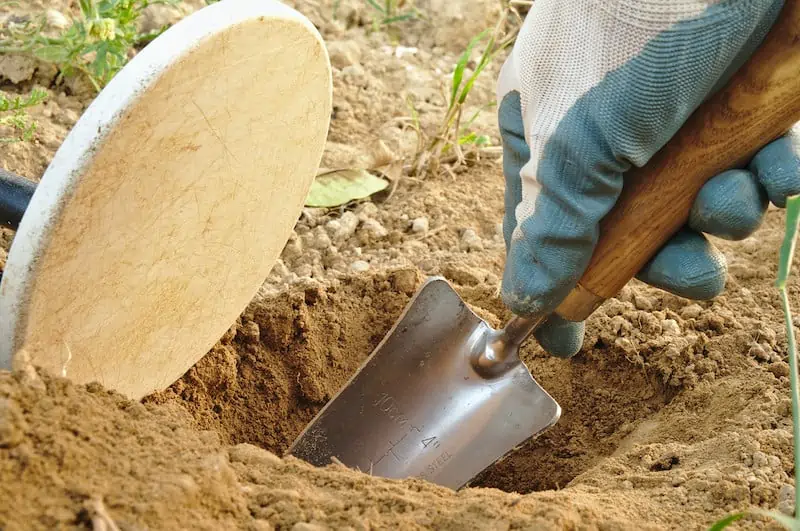
Your back will thank you if you bring a full-size shovel! I recommend a backpack to keep most of your gear in. They’re easy enough to remove if you find a target to dig.
- You might also want to read: 10 Metal Detecting Accessories Needed for Treasure Hunting
11) Read Your Manuals
It may seem trivial, but always read the manuals for your metal detector, pinpointer, and accessories. I keep my manual with my metal detector. It has a great page with a handy chart showing what specific tones and numbers are most likely to be. It is a good point of reference. Being familiar with your equipment will make your hunt more successful and keep your trip less stressful.
12) Test Your Detector at Home
It is always recommended that you test your metal detector before heading out on a hunt. Take a few items such as an iron nail, dime, nickel, quarter, penny, gold ring, and any other type of metal you find lying around and run them across the search coil.
This will help you learn the language of your metal detector. Each metal has its own sound, but some are quite close to each other and can be confusing.
13) Don’t Forget the Bug spray
The most common time to metal detect in the forest is the summer. Summertime means great weather. It also means bugs. Lots, and lots, and lots of bugs. Bring along plenty of bug spray and use it frequently! Mosquitoes can get very annoying after a few minutes and you don’t want to be swatting at them all day long.
14) Bring Extra Water
This may seem like an obvious tip, but when you are detecting in the woods, you may end up walking quite a distance.

Proper hydration will keep you focused and allow you to hike and detect longer.
15) Bring Extra Batteries
Nothing is more frustrating than coming onto a place with good signals only to have your machine’s batteries die. Some metal detectors have rechargeable batteries with backup supply powered by AAA or 9-volt. My detector requires 9-volt batteries, so I always take several extra batteries along with me.
16) Wear Good Shoes
The rugged terrain in most wooded areas call for decent shoes. I recommend some type of waterproof hiking boot.
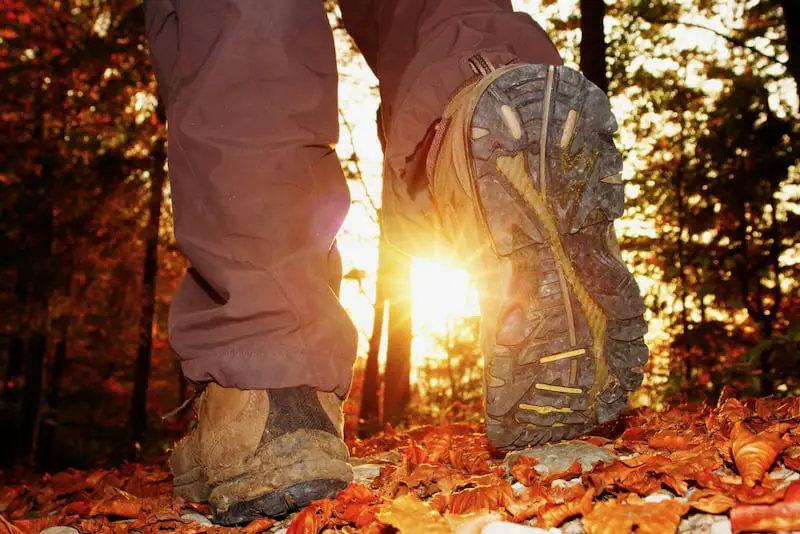
This way if you come across a stream, creek, or river, you can detect along the edges or slightly in the water without having soggy feet for the rest of the day. Make sure your hiking footwear has good traction.
17) Bring Some Gloves
It is important to take along a good pair of gloves with decent grip. Trust me, your hands will thank you!
If you find an area with a lot of targets, you will get blisters from digging. Using gloves will help with this.
18) Know the Laws!
Every state in the U.S. has its own metal detecting laws. There are federal, state, county, city, town, school district, and park laws. To detect in the woods, you need to make sure it is allowed. A quick call to the local forest service office will help you determine this. National forest land allows metal detecting but is subject to the General Mining Laws.

You also need to be aware of private property and historical sites. You may even run across mining claims while detecting (we have a lot of them along the rivers here in southwest Idaho). Do your research! It is worth taking the time to research your area as “I didn’t know” isn’t a viable defense and you could be slapped with a fine.
- You might also like: Metal Detecting Laws: Where Can I Detect Treasure?
19) Stay off State of National Park Property
Metal detecting in state parks or national parks is illegal. Be sure the location you have chosen is not in one of these areas. Always research state laws regarding metal detecting so you don’t get fined.
20) Watch for Private Property
There is a lot of privately-owned property in the mountains I have detected in Utah and Idaho. It is very easy to stumble across someone’s property line without really knowing it.
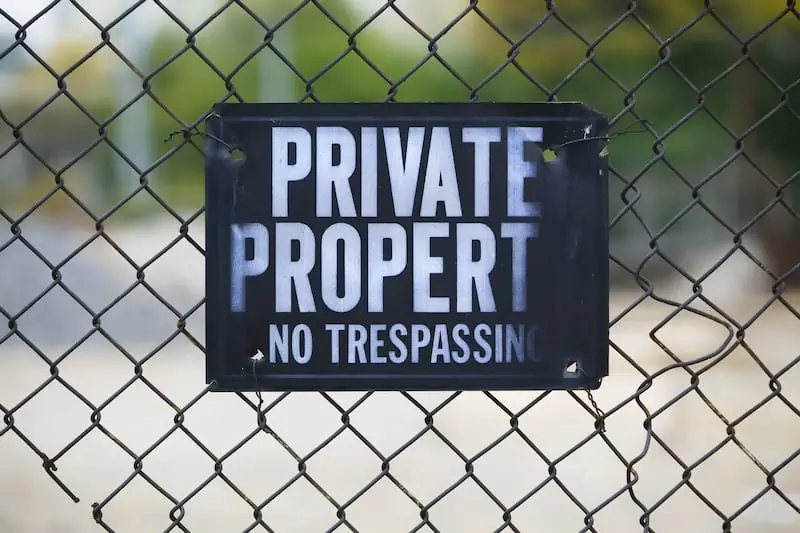
Keep watch for signs stating the property is owned, fences, or other indicators the property may not be public.
21) Watch for Federal/State Lands
Some areas, especially in the west, have a lot of state or federally owned lands. These will have different laws than public lands, so you need to be aware of those laws, and the locations of any federal or state lands in your woods.
22) Remain Aware of Your Surroundings
We have all had those moments where we block out the entire world because we are so focused on what we are doing. Always try to remain aware of your surroundings while in the woods. There are downed logs, holes, rocks, wildlife, cliffs, and other hazards that can sneak up on you if you are not paying attention. Stay aware and stay safe.
23) Watch for Wildlife
Know what type of wildlife is common in your hunting area. Where I usually detect, we have brown, black, and grizzly bears, mountain lions, and wild boars. It is always advisable to remain aware of what is around you, and don’t leave food trash everywhere.

I usually take bear spray with me just in case. Most cans clip easily onto your pack or your pants. Research the animals common in the area, and the best ways to handle a confrontation with them.
24) Should You Wear Headphones?
I typically think headphones can help in the search for treasure. But in the woods, I would recommend going without them. You need to have all your sense engaged to keep aware of your surroundings and keeping headphones in can distract you from what is around.
There are usually less people in the woods than there would be a popular lake or swimming hole, so no need to keep your volume turned way down.
- You might also want to read: What Are the Best Headphones for Metal Detectors?
25) Bring a Map and Compass
There is a chance you won’t have cell phone service in many forested areas. Certain areas of the Utah woods I have great service, other places are spotty, and in the Idaho forests I have no service at all.

So, it is a good idea to bring a map and compass along in case you get turned around.
26) Bring Your Cell Phone
It is always a good idea to bring along your cell phone. You may or may not have cellular service in the woods, but you can always hike to somewhere you do have service if you get in trouble.

To conserve battery, and to lessen the chances of electromagnetic interference with your metal detector, you may want to keep the phone turned off unless you need it. You can also utilize offline maps on your phone if you didn’t bring a paper map.
27) Bring Your Family or Friends (and pets!)
It can be dangerous to wander the woods alone, especially if you are in an isolated area. Bringing a friend or family member along not only gives you company but gives you more sets of eyes for safety. My family loves to metal detect together, so we load up the dog and kids, and head out. Everyone has a blast and the kids really enjoy finding targets.
28) Pack Light
If you will be hiking and metal detecting, you never know how long you will be out and about. While you need to make sure you have the proper items along with you, you need to try to pack light.
While I do think a backpack can be quite helpful, you may find it a bit heavy after a couple miles. Bring along travel size items like bug spray and sunscreen, rather than large bottles.
29) Be a Courteous Detectorist
Always follow proper metal detecting etiquette. If you dig a hole, fill it back in when you are finished. If you dig up trash, haul it out with you. Don’t detect near other people’s campsites or picnic sites so you are not disturbing them. Be courteous!
30) Use the Proper Sweeping Technique
Sweeping your detector properly is an important skill. Keep your search coil close to the ground and swing it side to side smoothly. If you scan too quickly, you will increase ground noise which can mask some targets.
31) Look for Logging Trails
Many wooded areas will have logging paths wide enough to accommodate a wagon and horse team, or a large logging truck. A small clearing in a wooded area is a good sign that logging may have occurred in the area. Logging camps would have been set up nearby, so detect in these areas.
32) Look for Walking/Biking/Hiking Trails
Trails are a great place to metal detect.
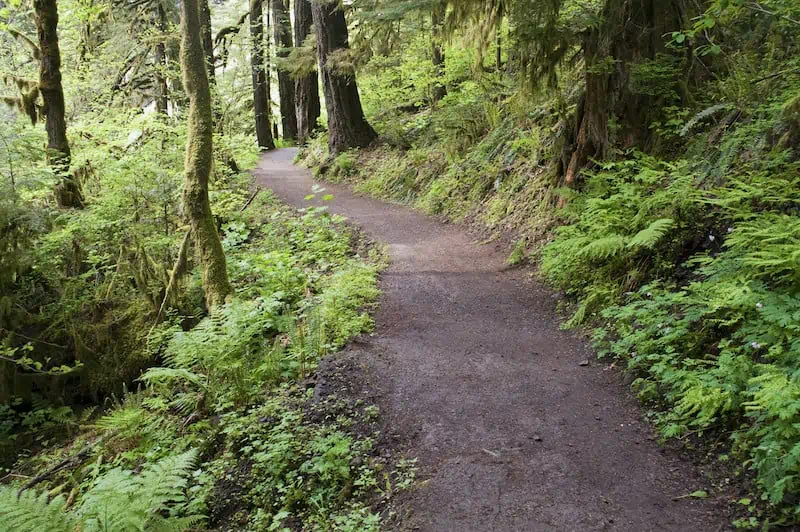
These areas have had lots of human traffic, and the more human traffic an area has had the more lost loot there will be.
33) Look for Old Cabins/Homesites
Many old cabins or homesites in the woods are abandoned and in disrepair. These areas are all great places to detect. Anywhere humans have habituated in the woods is a good place to detect.
If you do find an abandoned cabin or homesite, be careful where you step. Many of these places have old wells, felled walls (with nails, possibly), and other debris that could be hidden by foliage or dirt.
34) Look for Old Foundations and Chimneys
Many detectorists have found coins, cold, jewelry, and other treasure in stone foundations and chimneys. People would often hide jars of coins and other valuables in chimneys. These were once part of a home, so the odds of finding something are pretty good.
35) Look for Recreation areas
Most of the good finds I have come away with have been near campsites. People drop coins, sometimes jewelry, and lots of trash items. Always search around campsites very well. Popular trails through the woods and roads going through them are good search locations. Basically, anywhere people have been in the area.
36) Look for Old Trees
Hunting around the biggest and oldest trees can yield some great finds. Large trees mean people likely used them for shade.
This increases the chances of them dropping something. Metal detect around the trunk, and a little way away from it, as the roots can move away from the tree and move any targets out with them.
37) Look for Trees with Carvings
Most of us have seen trees with initials carved in them. This indicates that people were in the area, and the higher up on the truck the carvings are, the older they are. If people spent time around the trees, they may have dropped a coin or piece of jewelry.
38) Look for High Ground
When looking for older items, you must think like people used to. Search any areas that are higher than the rest of the woods. People looking to build a homestead used to value higher ground because they had a better vantage point for safety. Metal detect these areas thoroughly!
39) Look for Water
Water bodies, such as streams, lakes, and rivers are common places for people to have used for washing, swimming, or drinking.
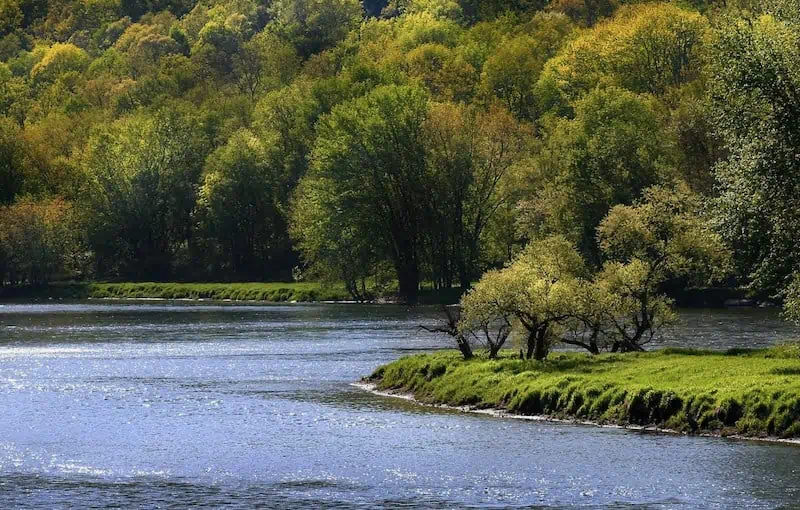
If you have a waterproof search coil, consider metal detecting in water in these areas.
40) Be Prepared to Fight Tree Roots
When digging in the forest, you are most likely going to encounter tree roots. Make sure the shovel you bring along is a heavy duty, good quality shovel. You don’t want to be a couple miles from your campsite and have your cheap shovel break. Especially if you are into a place with decent signals!
41) Look for Shallow Water Areas
Shallow water in rivers or other waterways are likely places where people cross. Metal detect these areas carefully.
42) Consider Riverbank Hunting
Riverbanks are a common place for detectorists to find loot. Waterways are highly traveled, either now or in the past, and have a high potential for having targets. Make sure your search coil is waterproof. Some models are fully submersible, but others only have a waterproof search coil.
43) Bring a Magnet
If you will be detecting in waterways in the woods, bring along a good magnet. Walking through the water, digging in the stream bed, moving rocks; all these things will kick up dirt, reducing your visibility.
If the water is moving, it will clear relatively quickly as the current moves. But slower moving water will take longer to clear. Keeping a magnet with you will help you find your magnetic targets easier.
44) Don’t Get Lost!
Consider taking a GPS device, paper map, or both with you, along with your compass. It is easy to get turned around in the woods, especially if you are focused on metal detecting. When you are in deeply wooded areas, it can be difficult to keep your bearings, so be sure to remain aware of your direction, and consider marking your trail to help you find your way back easily.
45) Dig Every Target
If you are in an area with a lot of trash, this might become too much. But if you are beginner, it is important to dig every target you come across. This will help you become familiar with your detector and the sounds and readings it provides with each type of target.
I have been detecting for a few years now, and I typically dig most targets I find in the woods. They are often trash targets, but I pack it up and haul it out anyway. Leave the woods better than you found them!
46) Look for Rock/Dirt Piles
There are a lot of old mining sites in my area, and we have piles of rocks and dirt from mining activities. These will often contain smaller bits of ore that the miners couldn’t be bothered with as they were looking for the bigger pieces.
Any out of place rocks or dirt indicate someone has moved them. Give the area a good scan.
47) Consider Taking a Separate Container for Trash
The bulk of what I have found metal detecting has been trash. Soda cans, pull tabs, tin cans, bullet casings, and tin foil are the usual suspects I find in the woods. I usually bring along a separate, larger pouch or bag for trash items. This way I won’t clutter up my finds bag.
48) Don’t Have Unrealistic Expectations
It is highly likely you won’t get rich metal detecting. Not that it is impossible, mind you. But you can’t go into any detecting trip only wishing for a big score. You will find many, many smaller targets, relics, artifacts, and coins. So have patience and keep it fun.
49) Consider Joining a Metal Detecting Club
Metal detecting clubs are great places to meet fellow detectorists and learn new things. Some of these people have been detecting for a very long time, and others may have a unique story or perspective. It can be helpful to get other’s input on where and what you want to detect.
- You also might enjoy: Are Metal Detecting Clubs Worth Joining?
50) Have Fun!
One of my top tips is always to have fun. If it isn’t fun, why bother, right? Keep your attitude good, scan away, and you will no doubt come out of the woods with some treasures. They might not be silver and gold nuggets, but they could be historical artifacts or relics, old coins or jewelry!
- If you enjoyed this article on 50 tips for metal detecting in the woods, please “like” our Facebook page!
You Might Also Want to Read:
