50 Metal Detecting Basics to Always Remember
In this article, we’re going to to provide you with some 50 helpful metal detecting basic tips, tricks, techniques and overall strategies you can use on your next treasure hunt.
And before we get started, we encourage you to check out our interactive guide below, where you can directly compare some of the top metal detectors against one another.
| Photo | Model | Price | Features |
|---|---|---|---|
 | Garrett AT Max | $$$ | Waterproof to 10 feet |
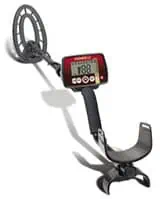 | Fisher F22 | $$ | 9″ Triangulated Concentric Coil |
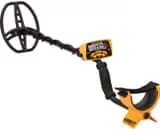 | Garrett Ace 400 | $$$ | 8.5 x 11" DD coil |
 | Minelab Vanquish 540 | $ | Search Modes: Coin, Relic, Jewelry, Custom, All Metal |
1) Research Your Search Area
The best place to start any metal detecting adventure is with research. It may sound boring to some but researching your search area or local area will help you learn the history of the area. Knowing the history of an area helps you know where to detect.
You will learn to spot areas where human activity has taken place. You will find old maps and news articles detailing areas no longer on today’s maps. Following the trails of human activity is a great way to find coins, jewelry, and relics. Try your local library, online resources, and museums.
2) Know Metal Detecting Laws
Each state and country have their own metal detecting laws. In the U.S., there are federal, state, county, city, town, school district, and park laws. Make sure you do research the laws in your area very carefully before metal detecting anywhere but your own property.
National forests allow metal detecting but are subject to General Mining Laws. There are also laws surrounding historical sites. It is worth the extra time and effort to research. “I didn’t know” is not a valid excuse and you will be fined.
3) Stay Off State and National Park Property
While national forests allow detecting, national parks and state parks is illegal. Again, research your chosen area and make sure it is well away from these areas.
Check your state’s laws regarding metal detecting to avoid fines and even jail time. When in doubt, check with your local forest ranger, city council, park ranger, or other authority figure.
4) Choose the Right Detector
There are many options when choosing a metal detector. It is important to chose one that aligns with your metal detecting goals and the areas you will be searching. If you will spend a lot of time on a beach, you will need a waterproof detector and one that can handle saltwater conditions.
If you will be prospecting, you will want a gold specific metal detector. You will also need to choose if you want a very low frequency (VLF: the most common type of metal detector) detector of a pulse induction (PI) detector.
5) Buy the Best Metal Detector You Can
It is important to choose a good quality metal detector. Always look for the best brands when choosing:
If you can afford a $700 machine, then purchase it if it aligns with your skill level and needs. If you can only afford a $100 machine, purchase that! All metal detectors will find all metals. More expensive machines have more features and will filter out ground minerals and iron targets better. You can always upgrade in the future.
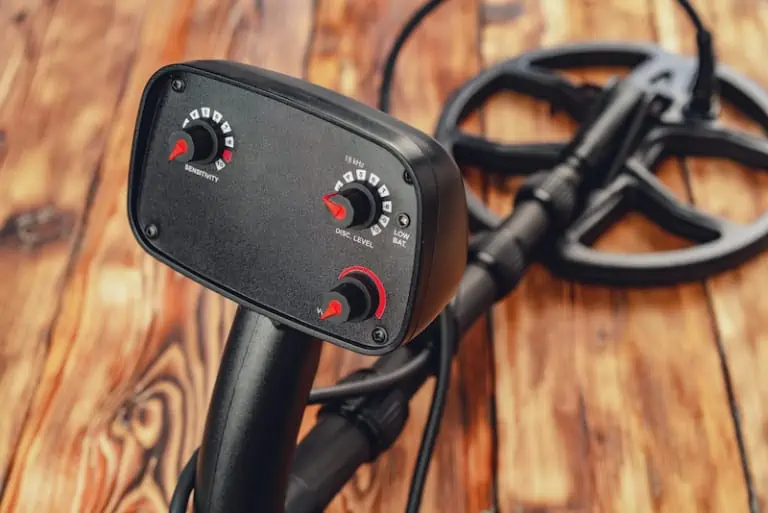
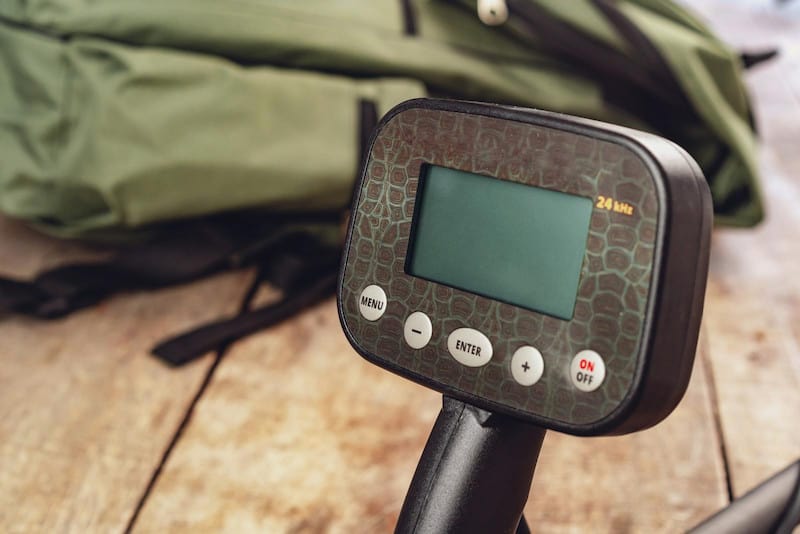
6) Read and Reread the Manual
The manual will become your best ally when familiarizing yourself with your metal detector. It is important to read the manual cover to cover and fully understand the capabilities and limitations of your metal detector.
Manuals will show you how to test your detector at home and become comfortable with it. I keep my manual in my metal detector case, so I always have it handy.
7) Choose the Right Search Coil
Some metal detectors have interchangeable search coils. Others have hardwired coils. Either way, be sure you choose the search coil that will work best for your chosen area and your chosen targets.
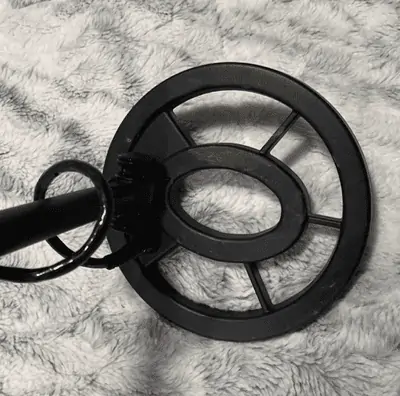
Larger coils will cover more area and search deeper. Smaller coils can maneuver around obstacles and into smaller places easily. Metal detecting companies will have information on their search coils and what ground types/target types they work best for.
8) Swing the Detector Properly
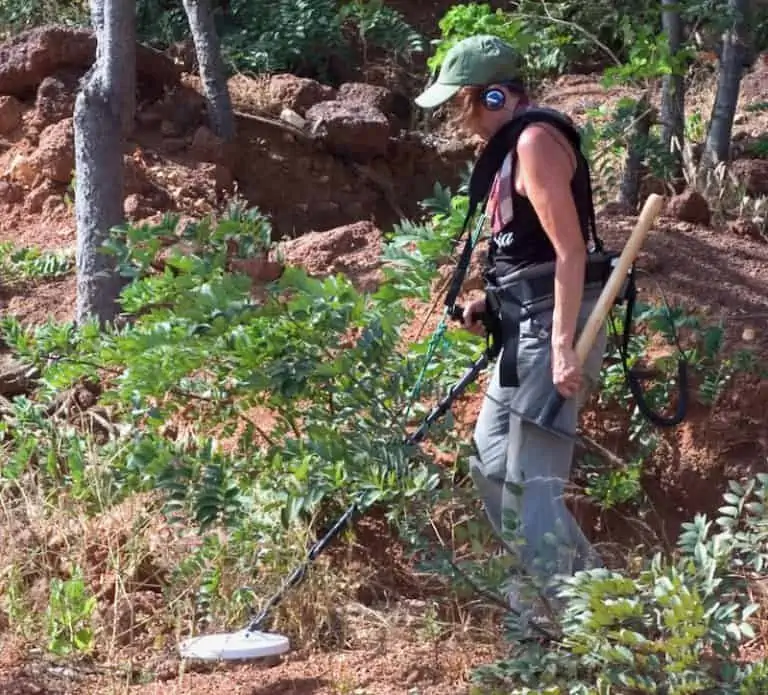
Swinging the detector properly is very important to a successful hunt. Keep the detector close to the ground, slowly swiping side to side, slightly overlapping each swipe.
Don’t swing too quickly or you’ll miss targets. The proper swing can take time to develop but is worth the effort.
9) Listen for Faint Signals
Small targets (like tiny gold nuggets) or very deep targets may cause the detector to emit a very faint signal. It is important to listen for these signals, so you don’t miss any targets.
10) Use Headphones
To ensure you hear the faint signals, try using headphones for metal detecting. Some metal detectors come with headphones. Some are even wireless!
I don’t recommend wearing headphones in areas where you need to be incredibly aware of your surroundings. Only wear them if it is safe to do so. It will keep your detector quieter for those around you, too.

11) Choose the Right Pinpointer
Metal detecting pinpointers are sort of like handheld metal detectors and come in very handy. They are quite accurate, and you won’t need to dig such a large hole to find your target. Y
ou’ll of course want to use them in association with your actual metal detector. Combined together will really help you pin point (sorry, couldn’t resist the pun) your buried treasure.
12) Choose Quality Digging Tools
A good quality metal detecting shovel (and hand shovel) are critical. Trust me when I say you don’t want to take a cheap, poorly made shovel with you, especially when the ground is very compacted.
I have had shovels break when I was in the woods. Not a convenient thing to have happen! So, choose a good quality shovel and hand shovel for your hunt.
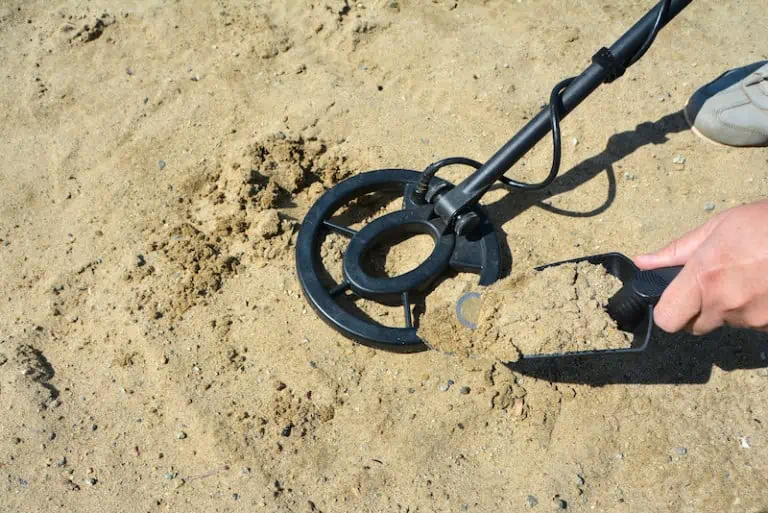
13) Use a Sand Scoop on the Beach
Sand scoops are a must when hunting on beaches. They can scoop a lot of sand at once and have holes in the sides to allow the sand to fall out while keeping the target inside. It can be very frustrating to dig a hole in dry sand with a traditional shovel. So, use a sand scoop for better results.
14) Always Fill in Holes Completely
It is important to always make sure holes you dig are filled in after you dig your target. In parks and yards, it can leave hazards to leave open holes. Plus, it’s not very nice. Even in the woods make sure you fill in all holes properly.
15) Always Double and Triple Check Holes
Don’t forget to recheck your hole before you fill it in. Often you will find more than one target near one another. So double check and check again to keep yourself from having to dig unnecessarily.
16) Search Your Own Yard
Searching your own yard is a great way to become familiar with your metal detector. All our yards have buried items in them. My yard has never yielded anything other than nails and other trash metal bits, but sometimes people will find coins, jewelry, and relics in their yards.
Check near foundations of homes, near trees, and along walkways before moving to more open areas.
17) Search the Beach
Beaches are some of the most popular metal detecting areas. They are typically high traffic, so have a high yield of lost items. If the beach is saltwater, be aware most VLF detectors will struggle with wet salty sand or saltwater.
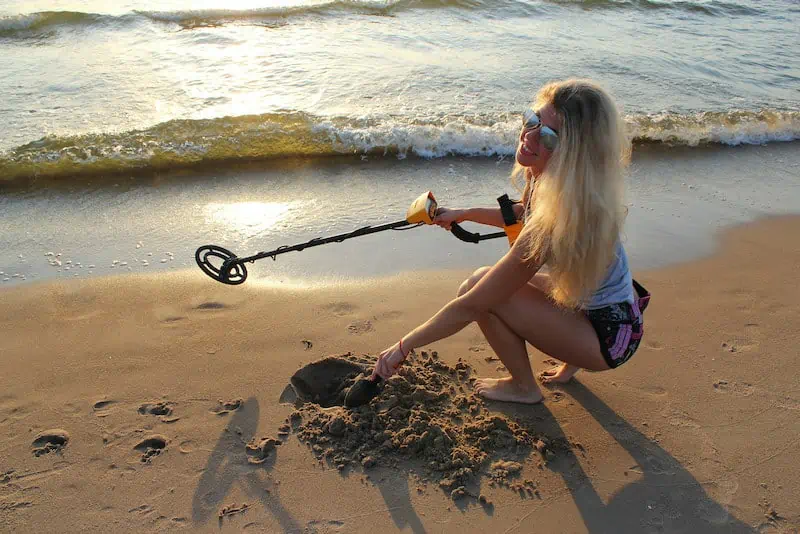
Some are specifically calibrated for these conditions. PI detectors work very well on beaches but don’t discriminate as well as VLF.
18) Search the Parks
Parks are another high traffic area that will have a lot of lost loot. Check near trees, walking paths, parking areas, and near water sources. Playgrounds often have lost jewelry or coins, too. Be sure not to check these areas if they are in use as people may get annoyed.
19) Search the Forests
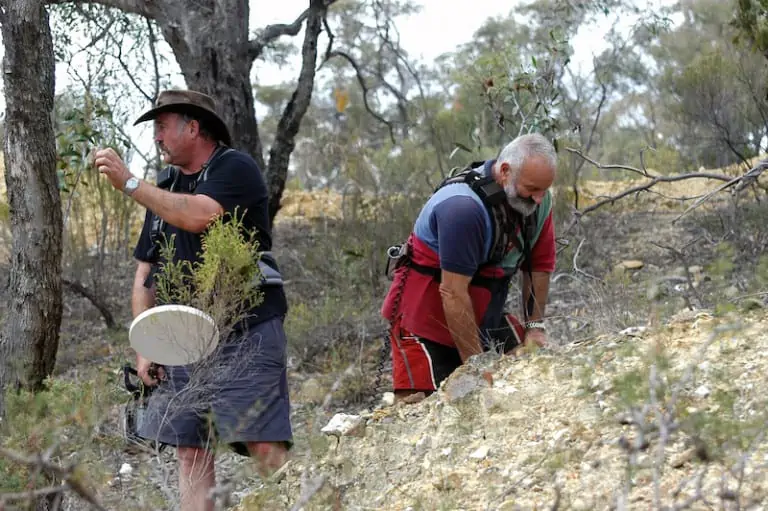
Forests are my favorite place to metal detect. I have found a whole lot of trash, some old mining relics, and native silver in the forest. Be sure, as I mentioned before, that the forest allows metal detecting.
Forests are a great place to detect because you can camp while you’re hunting. This way you can have a few days to detect while not having to drive home every evening.
20) Search the Desert
Desert areas in the western U.S. have been known to have gold. Always search for areas with exposed bedrock as most gold hangs out on the bedrock. Flash flooding in the desert can move gold down.
Also check for old mining tailings. Dry washing equipment misses gold when the dirt is screened, and they don’t separate the dirt well. There is often gold in the tailing piles.
21) Search Your Neighborhood
You can always ask your neighbors or others in your town or city if you can metal detect their yards. It can seem intimidating to ask, but they will often say yes. And if they don’t, you’re not out anything.
22) Get Permission to Detect
Make sure you always have permission to detect in any area that is not yours, including city parks. You may need to contact the city or town and ensure you have permission to detect there. Some areas require permits. I live near Boise, Idaho, and while metal detecting is allowed in city parks, permits are required.
23) Watch for Private Property
Keep an eye out for private property when hunting in forests or remote areas. Most private property is labeled, but over time the signs can fade or fall off. It is your responsibility to make sure you aren’t on someone’s land.
Also, in some areas, like where I live, gold claims are still common. Much of the area where I like to detect in the forest above Boise is claimed. As with private property, claims should be clearly visible. You can recreate on claimed land, but you aren’t allowed to metal detect or remove any items.
24) Avoid High Traffic Times
Searching during early morning or late evening hours reduces your chances of encountering a lot of people or having someone kick you out of your spot.
Some detectorists like to detect at night to avoid the crowds all together. While it is not illegal to detect around others, they can become annoyed or come up to you with questions. If you would like to avoid this, simply avoid the crowds.
25) The More You Search, the More You Find
As with anything else, the more you do it the better you’ll become. Thus, the more you metal detect the more loot you will find.
26) Dig Everything
If you are just starting out, are in a new area, or hear a signal that is weak or skewed, dig the target. Uncovering these targets will help you become familiar with the detector and the sounds associated with different metals.
27) Prepare to Dig a Lot of Trash
There is no 2 ways about it: you will find trash when metal detecting. Anywhere there has been human activity, there will be trash. It can get frustrating when you are digging a lot of trash targets but rest assured, there are high quality targets out there, too!
28) Remove Trash You Find
A courteous detector always removes all the trash they find. It is important to leave an area better than you found it. Unless the trash is large or dangerous, it should be removed.
29) Hunt After Rain
Rainstorms can move targets. Hunting after rain can produce targets that were previously undetectable.
30) Detecting in Water
Detecting in rivers and streams is a lot of fun and many contain gold, jewelry, and lost items. Always make sure your search coil is waterproof.
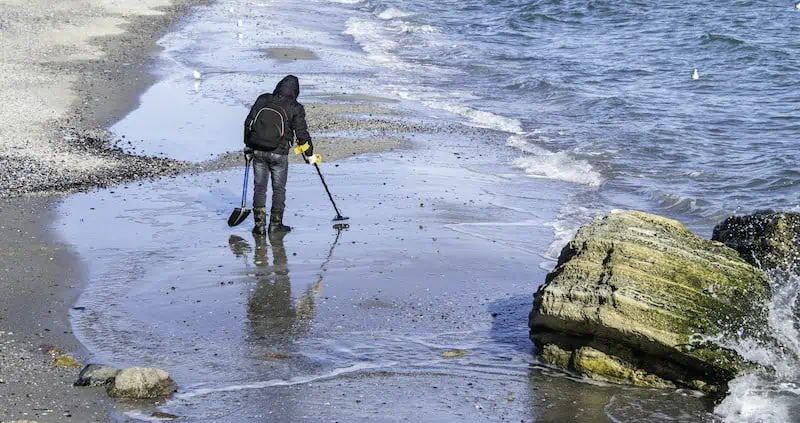
Some metal detectors are fully submersible and if yours is not, make sure you don’t drop it in the water. You can also metal detect in the ocean, if your detector is submersible.
31) Use a Finds Pouch
Using a finds pouch can keep your loot safe while you continue to detect. I like to take a backpack along with me, but I use a finds pouch also. It is not convenient or efficient to take off a backpack, unzip it, and find a place to keep your finds.
The pouches typically mount on a belt and are easily accessible. There are also pouches for hunting in water with drawstrings on top that are made of mesh.
32) Keep a Finds Log
A finds log helps you keep track of what you found, where you found it, what equipment you used, and the condition of the items or environment.
This can be helpful, so you know where to search, and where you’ve already searched.
33) Take Along Extra Batteries
Always take extra batteries for your equipment. It is incredibly frustrating to have your detector or pinpointer run out of juice partway through your day.
Most detectors run on AA batteries or sometimes on 9-volts. I like to take several replacement batteries, so I have enough for my entire trip.
34) Tips for Coin Hunting
Coins are often found together so it is important to really recheck an area if you find one. Create a small grid around the find and walk with small steps and slow sweeps to ensure you cover all the ground. Make sure there is plenty of overlap.
Areas with human activity will maximize your chances of finding coins. Look for areas where people congregate and check there first. If the area has a lot of trash, you may want to use a smaller coil to find your coins as they are better at filtering out trash.
35) Tips for Gold Prospecting
All metal detectors will find gold, but there are metal detectors specifically for gold. They work much better than an all-purpose detector on gold as they run at a higher operating frequency.
This is perfect for picking out small bits of gold. Always search for gold in areas where gold has already been found. Stream and riverbanks are great places to search.
36) Tips for Relic Hunting
Always do a good amount of research when relic hunting. The best relic hunting locations require research. Knowing the history of an area will help you recognize patterns of past human activities, find old homestead sites, and old paths.
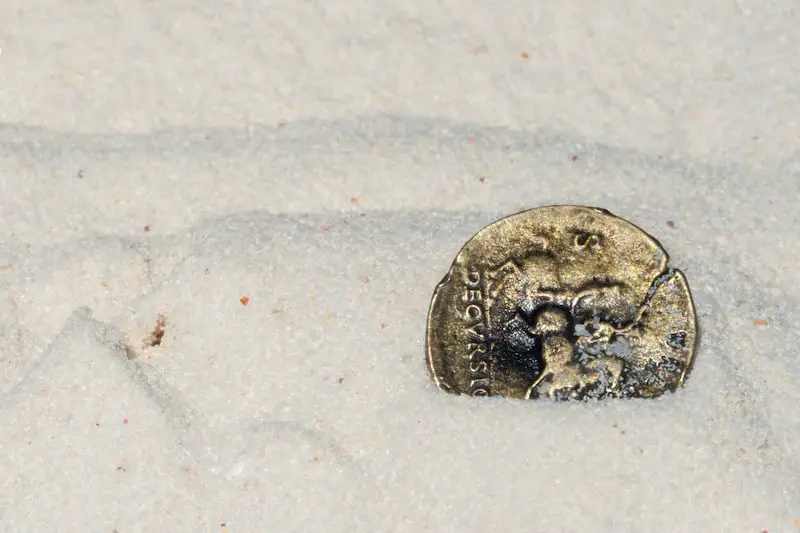
Websites focused on local history, historical maps, talking to local historians, city halls, and old newspapers are great sources of information about an area. Watch for clues while hunting such as broken pottery. This indicates there was once people in the area.
37) Don’t Clean Your Finds
It is important not to clean your finds until you know exactly what they are and what they’re worth. If you find a coin, relic, or piece of jewelry, cleaning it could potentially damage it or reduce its value.
There are many websites to help you identify found objects, or you could take the items to a coin shop, local historian, or local metal detecting club. They will all be able to help you figure out what the item is definitively.
38) Use Sunscreen, Bug Spray
I always recommend using both sunscreen and bug spray when metal detecting, especially near the water. When you’re outside for long periods, regardless of the time of year or weather conditions, you run the risk of sun burns.
Keep a good sunscreen handy and reapply it often, especially if you are in water or perspiring. Bug spray will be a necessary item to have along if you are detecting near water sources or during the summer months. Bug spray will keep those pesky mosquitoes away from you and help you stay focused.
39) Wear Proper Shoes
It is important to wear the proper shoes when metal detecting. If you are in the woods, you will want a good hiking shoe with plenty of traction. If you will be hunting in rivers or streams, make sure your shoe has very good traction as the rocks along the bottom are extremely slippery.
If you are beach hunting, you can wear any type of shoe you are most comfortable with (I prefer flip flops or bare feet when on the beach). Make sure your shoes match your environment.
40) Use Gloves
I like to bring along a few pairs of gloves. Gloves can help keep your hands cleaner and can keep them from getting scuffed or scraped. Make sure the gloves are thin, flexible, and don’t contain any metal.
Cheap garden gloves work fine, or you can choose a more tactical glove. Whichever type of glove you are most comfortable with is the bet choice. I bring along a few pairs, just in case one gets lost or damaged, or they get wet.
41) Bring Extra Water and Food
It is always a good idea to take enough water and some food with you, especially when you are going to be in more remote areas. It is important to take along plenty of water because it is very easy to get dehydrated, especially if you are hunting in hot weather or lugging around a lot of equipment. If you are sweating, you need water.
So always bring water and at least some type of high-quality snack like a protein bar.
42) Use a Map
This is a very important tip if you will be in a remote area. Some remote locations do not have any kind of cell phone service, and you need to have a map along so you can track where you are.
Maps are lightweight and don’t take up much room, so they are easy to carry along with you. You can also use them to map locations where you find treasures or find areas you want to search.
43) Use GPS
Using a GPS device can help you stay on track when you are in remote areas. While they are much more costly than a paper map, they are often more detailed and updatable. Some GPS devices allow you to track where you’ve been and will help you keep track of locations where you found treasure.
44) Bring a Magnet
I like to bring a neodymium magnet when metal detecting, especially in the woods. There is a lot of trash around certain areas and using a magnet can help remove any ferrous materials before you metal detect. You can also use the magnet to dredge the bottom of rivers and streams and find metals that way.
45) Bring a Magnifier
I always have a magnifying glass or jeweler’s loupe in my pack. When you find an item sometimes it can be difficult to identify. With coins, sometimes you can’t see the year or the make. Using a magnifier can help you identify items.
46) Bring a Screwdriver
A flathead screwdriver with the edges rounded off is a great tool for metal detectorists. They are wonderful for probing coins out of holes safely and for probing between rocks. Make sure you probe carefully so as not to damage the items.
47) Have a First Aid Kit
This is a very important tip when in remote areas. When my family and I go camping, we metal detect. My emergency supplies consist of emergency blankets, emergency tents, a life straw (filters water), waterproof matches, extra socks, and a small first aid kit.
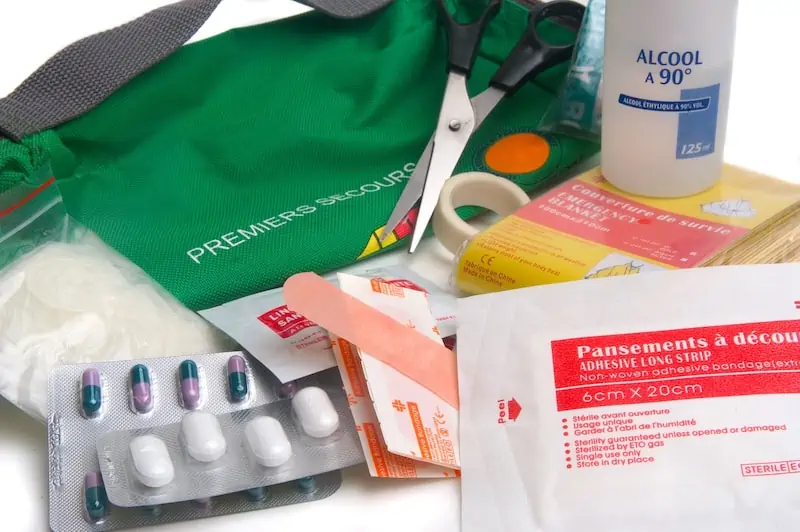
This goes along with the extra food and water I always have on hand. Emergency kits can be modified to your needs so you can really keep any emergency items in them you think you may need for your trip.
48) Always Stay Alert
Regardless of where you metal detect, always remain aware of your surroundings. When in the woods or remote areas, keep an eye out for hazards like water, holes in the ground, steep areas, falling rocks, and animals.
If detecting along a beach, in a park, or in a yard, be thoughtful of those around you. Don’t metal detect too near people recreating.
49) Join a Metal Detecting Club
Joining a metal detecting club has many advantages. You have an opportunity to visit with people who share the same hobby as you. Some of the members of these clubs have been detecting for many years and have a wealth of knowledge. You may learn something from them.
If you are a seasoned detectorist, you can share your knowledge with others. They can help you identify found items. There are metal detecting clubs all over the country and many will have fun activities like group hunts and contests.
50) Be Courteous!
Always be a courteous metal detectorist. If you dig a hole, fill the hole. Don’t disturb others while detecting. Don’t trespass. Pack out any trash you find. Look at the metal detecting code of ethics and become familiar with them. Remember: when you metal detect you are a representative of all detectorists. So, don’t make us look bad!
- If you enjoyed this article, please “like” our Facebook page!
