50 Metal Detecting Tips to Find Silver
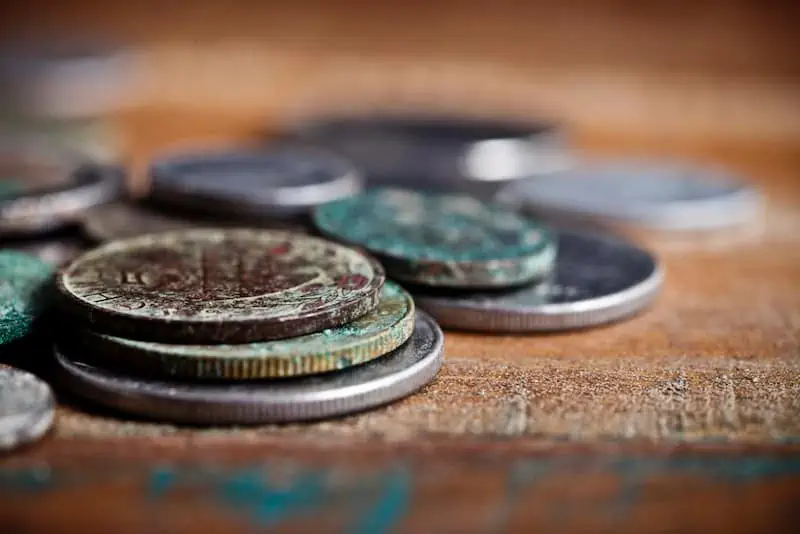
Metal detecting for silver can be a hugely rewarding hobby. The United States is the world’s third largest silver producer, and many sites will have old silver coins, jewelry, and relics.
Whether you are looking for silver coins, artifacts, natural silver ore, or all the above, this article will help you get ready to have a successful silver hunt!
Before we get started, we do encourage you to use the table below to check out some of the best metal detectors on the market capable of finding silver and other valuable metals:
| Photo | Model | Price | Features |
|---|---|---|---|
 | XP Deus Wireless | $$$ | 11” DD Coil |
 | Garrett AT Max | $$$ | Waterproof to 10 feet |
| Bounty Hunter TK4 Tracker IV | $ | 8” Waterproof Coil |
1) Do Some Research on Finding Silver
Silver hunting with your metal detector can be very exciting. If you are in specific areas, you may find native silver. In still other locations, you may find silver coins. Or both, if you are lucky!
2) Research Your Local Area
Knowing the history of your local or search area will go a long way toward helping you find any type of silver. Old homestead sites will often have silver coins, rings, and other silver relics.
For example, if you live in the eastern or southern United States, you may be able to find Civil War relics. Most detectorists find silver coins and relics from searching historical sites.
3) Choose the Proper Metal Detector
As with any type of metal detecting, possibly the most important step is to find the right metal detector. Not all detectors are created equal, and some are better at finding certain types of metal than others. You need to research the different types of detectors and decide if you want a very low frequency (VLF) detector or a pulse induction (PI) detector.
VLF detectors usually have difficulty selecting targets in highly mineralized soils, but some offer great ground balancing. PI detectors are fantastic for mineralized soils but can be more expensive and heavier.
4) Choosing a VLF Detector
Certain metal detectors are better than others when it comes to finding silver coins. The good news is many models are made with coin and relic hunters in mind. One of my top recommended detectors the Garrett AT Pro.
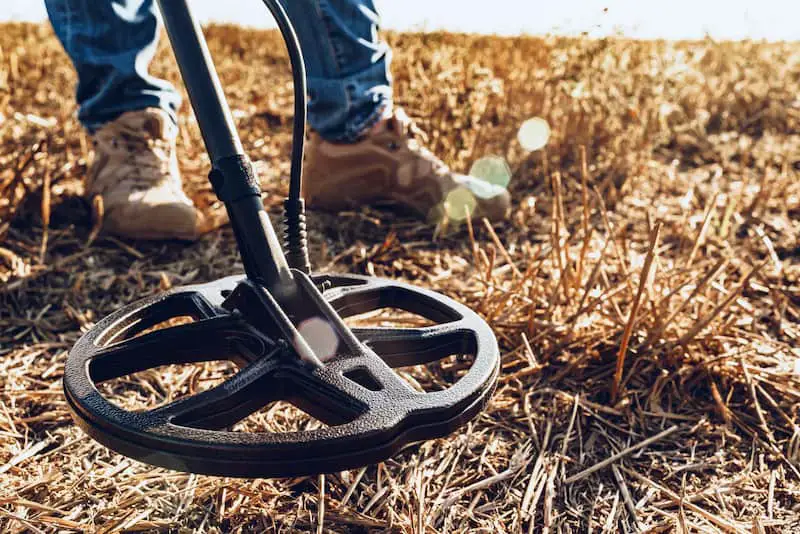
This detector was built for relic and coin hunters, jewelry hunters, and prospecting. It works well on fresh and saltwater beaches and is waterproof to 10 feet. There are decent metal detectors out there, so don’t be discouraged if you don’t or can’t spend a fortune.
I recommend the Fisher F22 as one of the best affordable metal detectors.
It has different settings for Jewelry, coins, artifacts, or custom search. The coil is waterproof, but the control box is only water resistant, so keep a tight hold on this one if you’re using it in the water! The F22 does not ground balance as well as the Garrett AT Pro, so it may struggle in highly mineralized areas.
5) Choosing a PI Detector
PI detectors will work much better in highly mineralized areas and saltwater beaches than most VLF detectors. While many people purchase a PI detector to find gold, they are good at finding other metals, too. PI detectors typically scan deeper than VLF detectors. One of the very best PI detectors out there is the Garrett ATX.
This detector is all-terrain, and ruggedly built. However, it comes with a hefty price tag. This model has automatic ground balancing and will detect every metal you are looking for without switching discrimination values. It will find silver coins and war relics as easily as it finds gold. The Tesoro Sand Shark is less expensive PI machine and comes with a lifetime warranty.
6) Purchase Within Your Experience Level
Remember, you do not have to break the bank to find a good silver metal detector. In fact, I recommend that if you are new to metal detecting, you start with a more affordable entry-level model. You could certainly start at the top of the metal detector chain and spend several thousand dollars on a unit.
But an expert-level metal detector is only as good as the person using it. If you do not have the metal detecting knowledge to fully utilize the machine, you are wasting your money. Start at the bottom, become more familiar, then upgrade in the future when you are more confident and knowledgeable.
7) Choosing the Right Search Coil
Many detectors offer interchangeable search coils. These can come in quite handy as there are different coils for different needs. Some hunts require a DD coil, while others require a large concentric coil.
Ground mineralization, trash density, and experience level all factor in to choosing the right coil.
8) Choosing Your Accessories
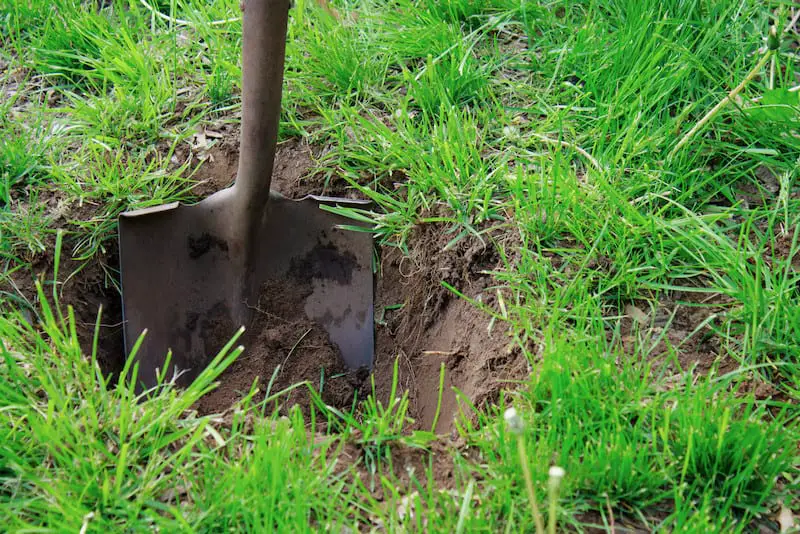
Accessories are always important in metal detecting. You will want a good pick hammer to break rocky ground or bust through rocks. You will want a shovel or hand trowel to dig holes when the detector identifies a target.
Always take a metal detecting pouch to keep your finds in and keep them safe. Some people take along strong magnets to make it easier to separate iron targets before digging.
- You might also want to read: 10 Metal Detecting Accessories Needed for Treasure Hunting
9) Don’t Go Cheap on Accessories!
When choosing certain accessories, you will be doing yourself no favors by going cheap. Inexpensive shovels or trowels will break quicker than better quality items.
If you are onto a good signal in the field the last thing you need is for your digging equipment to break! A good metal detecting shovel will allow you to dig in different ground conditions, too. It can be difficult to dig through gravel or tree roots with a hand trowel.
10) Don’t Forget the Batteries
Many detectors require either AA batteries or 9-volt batteries. I always make sure I have extra batteries along as many factors can cause your detector to lose power quickly. Last time I was metal detecting in Utah, the ground was highly mineralized.
The detector responded by rapidly blinking and beeping. This happened several times and caused the batteries to die much quicker than they would normally. If you have a rechargeable battery with a backup power source, bring extra batteries for that as well as your charging cable (if you have a way to plug it in such as a vehicle).
11) Pinpoint Mode on a Metal Detector
Most metal detectors have a pinpoint mode. This mode is used to more accurately pin down a target. For my detector, I simply hold the pinpoint button and slowly move the coil near the target range. The signal will increase or decrease as the pinpoint function nears or strays from the target. Concentric coils are typically better for pinpointing.
12) Choosing a Handheld Pinpointer
Coins are small and can be tricky to locate, and even trickier to dig. Wouldn’t it be tragic if your target turned out to be the 1913 S Barber Quarter and your pinpointing was inconsistent on your metal detector and your shovel scratched this rare and beautiful find?!? Consider taking a handheld metal detector along with you.
Most full-size metal detectors have a pinpoint option, but you may have to dig a larger hole to get the coil inside. A pinpointer can be used in a smaller area, and help you search out the target you identified with your full-sized detector.
My favorite pinpointer is the Garrett Pro-Pointer AT. This pinpointer is good on all terrains and environmentally protected meaning it’s submersible to 20 feet. Pinpointing is also more responsible, as you are not disturbing as much soil as you would need to without it, especially in public places.
13) Read Your Manuals
Be sure to carefully read the manuals for your metal detector and your pinpointer. When you think you know all there is to know, read it one more time. Become very good friends with your manual. I keep mine in my detector bag, as it has a hand chart showing what the likely target is for the different output readings.
This was extremely helpful when I first began using my Fisher detector. If the manual does not explain something well, you can always use the internet to find more information, or call the manufacturer listed on the manual. They are usually willing to help with any issues you have.
14) Read a Book
If you are new to detecting or want more information about other people’s experiences, there are multiple books out there. Books about detecting or finding coins, relics, ores are all available. Research is key to becoming more confident in your detecting skills.
15) Test Your Detector
Some metal detecting manuals suggest you grab a variety of metals and test the detector with them. It is always a good idea to try this with any type of hunting so you can learn the sounds and sites your machine gives off in the presence of these metals. Try grabbing a piece of solid silverware, or a silver candlestick, ring, or other item of high-quality silver and run it over your detector.
Take note of the sound it emits as well as how the display registers. You can also try burying different coins in your yard with plastic markers next to them (so you don’t lose them) so you can get the feel for what it will be like to find one in other locations.
16) Pay Attention to the Tone Silver Makes
A silver target causes a very distinct sound on most metal detectors. For example, on the Fisher F11, it comes through as a high tone, reading within the silver numbers for my detector.
If you have a piece of silver for testing, make sure to remember that clear, high tone for when you are searching outside for targets. It will be noticeably higher than the low grunting iron or gold tone.

17) Listen For “Iffy” Signals
Sometimes a piece of silver or coin is buried deeply and will emit a different tone. Or if something is buried nearby, it can seem like a split tone. When I hear these, I always dig the target. Usually, nails or other iron sources cause the strange signal, but coins have been known to do the same.
Remember, the more you practice metal detecting, the easier it will be to weed out the “good” signal within the “iffy” signal!
18) Fine Tune Your Settings
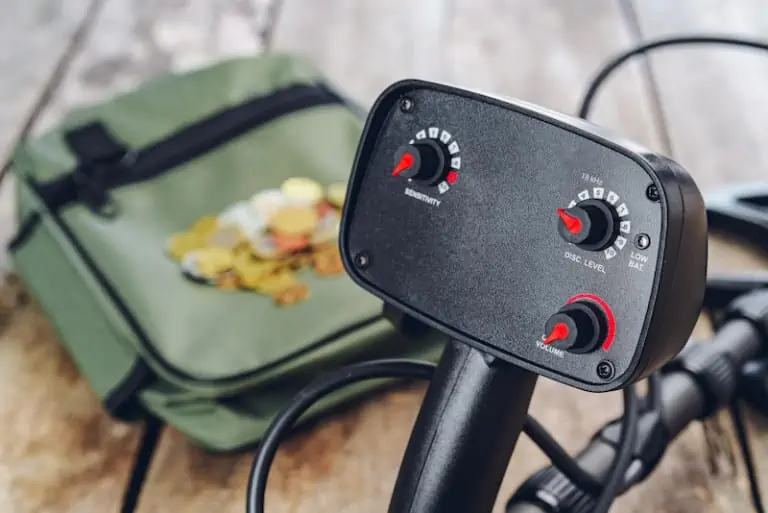
Most metal detectors have a range of settings for a variety of metals. Be sure your discrimination, sensitivity, depth, and ground balancing are all within the range best for finding silver. Higher sensitivity will return more signals and is more likely to root out smaller pieces of metal.
When adjusting depth, only adjust as far as you are willing to dig. Some detectors have automatic or manual ground balancing, so adjust your machine accordingly. This will help keep the detector from acting erratically in the presence of mineralized soils.
19) Know How to Properly Swing the Detector
This may seem trivial to more experienced detectorists, but one of the most important tips is to properly learn to swing your detector. Don’t swing your detector like a golf club! Many people swing the detector too quickly, and it has a hard time picking up a strong signal.
Always swing slow and low to the ground, in back and forth motions. You will miss targets if you swing too quickly or too high off the ground. Practice this when you are testing your machine at home.
20) Know the Best Search Frequencies
Most metal detectors have overcome frequency issues with better design and more advanced circuitry. But for a successful hunt, you should know the optimal operating frequencies for different silver items:
- Low Frequency (2 to 4 kHz)– Deep coins
- Mid Frequency (5 to 12 kHz)– Relics, jewelry, and coins
- High frequency (15+ kHz)– Mostly for gold
Some metal detectors offer adjustable frequencies, such as the Nokta Impact. This model can operate at 5 kHz, 14 kHz, and 20 kHz. Lower frequencies will be better at finding higher conductivity items such as coins. Most frequencies can pick up coins, but detectorists have the most successes between 8 and 12 kHz.
21) Consider Wearing Headphones
Most machines have ports to plug in your metal detecting headphones; some higher end detectors have wireless connectivity. If you are going to be a noisy area, consider wearing headphones to give yourself the best chance to hear fainter signals.
Also, if you are hunting in a populated area, it is more considerate to wear headphones, so others do not have to hear the beeping from your detector.
22) Know the Laws
Each U.S. state has its own laws regarding metal detecting. There are numerous laws from numerous entities: Federal, state, county, city, town, school district, and parks. Each of these entities will have laws regarding detecting. Some even require special permissions to detect.

For example, the town I live in requires permission to detect within city limits. Always check with local, state, and federal agencies prior to starting your hunt. You don’t want to be hit with fines! Pay attention to private property and know the laws regarding finding artifacts in your area.
You might also like: Metal Detecting Laws: Where Can I Detect Treasure?
23) Don’t Be Afraid to Ask Questions
It may be intimidating to ask property owner or the city/state if you can hunt in a certain location. Don’t be afraid to ask! The worst they can say is “no,” and you can move on to another site. But often you will find people say yes.
24) Always Be Safe
One of the most important tips for detecting for silver (and all other types of metal detecting) is always to be aware of your surroundings. If you will be searching old abandoned homesites, you may find uncovered wells, broken foundations, broken items and trash, and lumber or other building materials covered in foliage.
Be very aware of where you step and pay attention to wildlife. Snakes can take up residence in abandoned homesites, and depending on the time of year, could be a danger to you.
Wear good quality footwear with excellent traction. Always tell someone where you will be and when you should return if you are detecting alone, and always take a cell phone (you may want to turn it off as it can interfere with your detector).
25) Pay Attention to Your Surroundings
Although I mentioned this in the last tip, I feel it bears repeating. Sometimes we can get so focused on what we are doing we can block out the rest of the world. While you should focus very carefully on your detecting, always remain aware of your surroundings.
26) Use a Checklist
Keeping a basic checklist of your necessities for detecting can save you some grief. If you are not near your home and forget your finds pouch or shovel, you will have to leave the area to retrieve these items. To keep this from happening and to stay organized, keep a checklist of your items handy.
27) Research Native Metallic Silver
Most silver is mined from silver bearing and will not trigger an alert by a metal detector. But naturally occurring metallic silver will trigger a response if it is large enough. Native silver is not uncommon within silver deposits, but it often occurs in irregular flakes, masses, and wires disseminated through the vein.
This can make the pieces too small to see, and difficult for the detector to pick up. It is possible for larger masses of native silver to be present, though they are often still in strange, distorted shapes. Because they tarnish easily, native silver may come out of the ground as a gray to black color.
28) Where to Find Native Silver
Native silver has been found in many areas in the United States. Some of the most well-known sites are:
- Nevada (The Silver State!)
- Idaho
- Alaska
- Arizona
- California
- Colorado
- Missouri
- Montana
- New Hampshire
- New Mexico
- North Carolina
- Oklahoma
- Oregon
- Pennsylvania
- Texas
- Utah (My home state; I have found native silver here!)
- Virginia
- Washington
There has also been native silver found near cobalt and nickel minerals in Ontario, Canada, several mines in Mexico and Peru, as well as Norway.
29) If You Find Native Silver, Double Check the Find!
The reason I mention this is that much of the native silver I have found looks almost identical to melted aluminum or melted iron! But it so very clearly reads as silver on my detector. I gathered quite a bit on my last metal detecting trip, and the shapes of some native silver are so odd!
Always double check your finds. I tend to take all the items that rang through as silver and sift through them later. I would rather take them all and not miss some than be picky at the time.
30) Where to Look for Silver Coins
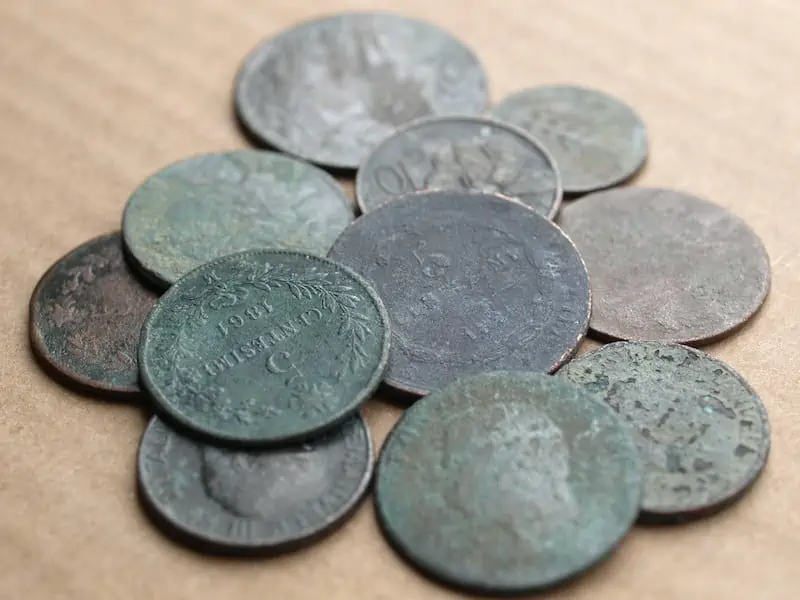
Silver coins are most commonly found in areas with human habitation dating from pre-1800s. While you may find some in newer areas, the largest concentration will be in older sites. Many areas with homes dating back to the 1800s or earlier have not been scanned with metal detectors.
Many people are afraid to ask homeowners if they can search their properties. But most silver coin finds occur in the yards of these older homes, or from abandoned home sites.
31) Where to Look for Silver Jewelry
Silver jewelry is often found in the same areas as silver coins. Check along walking paths or paved walkways, as these are common places for jewelry to become lost.
Abandoned home sites often have silver jewelry and as stated before, many have not been detected. Another option is to detect along beaches, and other areas where people frequently recreate.
32) Where to Look for Silver Artifacts
Again, silver artifacts are most likely to be near older home sites. If you wish to metal detect in an occupied area, always seek permission from the home or landowner first.
If you find an abandoned home site, so long as it is not on private property or you have permission from the landowner, you may search the area for silver relics and artifacts.
33) Always Check Recreation Areas
One of the most common places to find both old and new items are popular recreation spots. Swimming holes, rivers, lakes, and campsites are all great places to find loot! On a recent camping trip, I found a melted silver quarter at my campsite. Be sure you search the entire site!
34) Don’t Just Search in Obvious Areas
Parks, churches, ball fields, old home sites, and abandoned home sites are all relatively obvious place to look for silver objects. But the truth is, any area that has or had foot traffic will have coins and potentially other items scattered about.
Check your local city hall or historical society to find maps showing how the area was set up long ago. Any old map should do, as it can be referenced against newer maps and show areas where you may think nothing has ever stood.
35) Pay Attention to Vegetation
Vegetation type and growth can give some indicators as to when an area was last occupied. Many abandoned home sites will have smaller trees and other vegetative growth in the area where the home would have stood. The surrounding trees would be larger.
Look for stumps nearby that could have been cut for firewood or building materials, as these may lead you to a homesite. Sometimes vegetation can completely obscure an old home, especially if it has fallen. So, keep your eyes peeled for changes in the environment or obvious signs of previous habitation.
36) Look for Excavated Areas
Look for areas that are under construction or have been excavated for other reasons. Always obtain permission from the property owners to metal detect the area. Something as simple as replacing the sod at a golf course can yield many coins!
37) Search Slowly
One of the best tips for not missing targets is to search slowly and methodically. Plan out in your head a search grid and stick to it. I like to find one or two points of reference and stay in lines according to those points. This way I feel like I have covered the area thoroughly before moving on. I especially like this when metal detecting in the mountains.
I find one or two reference trees or campfire pits (if they are trees, you can mark them with a sash or ribbon to keep them in view) and create an imaginary line. Once I have exhausted my search in that line, I create a new line just outside my old search area.
38) Detect Previously Searched Areas
Just because an area has been searched previously does not mean every item of value has been removed. Perhaps the last detectorists had his detector set for gold, which emits a lower tone than silver.
They may have discriminated out all but those tones, leaving plenty of other finds, including silver, for you! It is also possible that the area has not been thoroughly searched. Don’t give up on areas that have been worked. It may just pay off.
39) Digging a Target
After you have gotten a strong, clear high tone with your detector indicating silver, the best way to proceed is to dig. Dig the smallest possible hole at first and expand later if you need to. Always remember to check the soil or plug you are removing to make sure your target, or other targets, are not present.
Once you have gotten your target, double check the hole. When you are satisfied the hole is clear, replace any removed soil or grass. A respectful detectorist always replaces the holes they have dug.
40) Keeping Track of Your Finds
It is very possible that the silver coins or relics you find will be old. Keep tabs on the dates of these coins and where they were recovered. Soon you will soon have your own map of where the oldest or most rare coins may be located.
41) Depth Matters
If you are onto a location that has many targets near the surface, you may be at a site where no one has previously searched. Be sure to really take your time here!
42) Search at a Good Time of Year
While you can certainly metal detect in any season, if you live somewhere it gets below freezing in the wintertime, you probably won’t want to metal detect over the winter. Not only is it cold outside, but digging the frozen ground isn’t going to be too fun.
I like to hunt in the spring and fall the best, but summertime offers more dry days. Springtime is usually the best overall time to metal detect, as all the winter storms have moved out and anything that was left behind will be near or on the surface.
43) Be Aware of Electromagnetic Interference
There are many things that can cause electromagnetic interference. If your detector is acting erratically, it may be from this type of interference. Search the area for causes. It can be something as seemingly innocent as a cell phone.
Often, the cause is power lines. If you are hunting with another detectorists, keep the detectors away from each other as they can cause this erratic behavior.
44) Consider Buying a Silver Test Kit
As I mentioned earlier in the article, native silver is odd looking. If not for my metal testing kit, I would have truly believed my detector was full of it! There are many methods for you to test your silver finds at home, or you can have them professionally tested.
45) Don’t Get Discouraged
Luck is a major factor in any type of metal detecting. Finding silver is no different. Some detectorists will find silver quickly or often. Others will only find it occasionally. Though it is not for lack of trying! Some areas will be more productive. So, it’s basically and location!
46) Expect to Find More Trash than Treasure
Anyone who has metal detected for long enough will tell you this is true. You will always find more trash than treasure! But the more you search, the greater chance of finding treasure you will have.
Most people don’t walk on to their search site and instantly zero in on a silver coin or cache of coins. The truth is, I have spent about 4 times as much time digging and hauling off trash than recovering silver. But when I do find silver, it makes it extra special!
47) Consider Joining a Metal Detecting Club
There are metal detecting clubs all over the United States, and the world. Joining one opens access to more information, tips, and stories from others with the same hobby as you. Some of the more experienced detectorists can have wonderful information for you.
You also might enjoy: Are Metal Detecting Clubs Worth Joining?
48) Consider Taking a Friend
My family and I love to metal detect together. It is always more fun when the kids yell that they have found something with their own detectors, even though it is typically trash! We can cover a larger area, and it is nice to have someone around.
49) Keep a Positive Attitude
While it may sound cheesy, keeping a positive attitude makes all the difference when metal detecting. It is easy to become negative when you are finding nothing but old cans, pull tabs, and iron nails.
Just remember, the silver is out there! There are too many lost coins to count just waiting to be found. There are multiple buried silver artifacts, and even native silver just waiting for someone to scoop them up! Stay positive, friends!
50) Have Fun!
One of the most important tips I can give you is to have fun! It can get discouraging, hot, cold, and a million other discomforts. But if you remember you are doing this because you love it, you will always have fun! Take a buddy or a family member and make a day or trip out of your metal detecting.
If you enjoyed this article, please “like” our Facebook page!
You Might Also Want to Read:
- 50 Metal Detecting Tips to Find Gold
- 49 Metal Detecting Tips for Underwater Detecting
- 50 Metal Detecting Tips in the Woods
- 8 Metal Detectors Under $1,000 to Find Buried Gems
- XP Deus review
- 8 Metal Detectors for Depth That Will Find Treasure Buried Deep
- Metal Detecting Laws: Where Can I Detect Treasure?
- What’s the Best Tesoro Metal Detector?
