51 Metal Detecting Tips to Find Old Relics
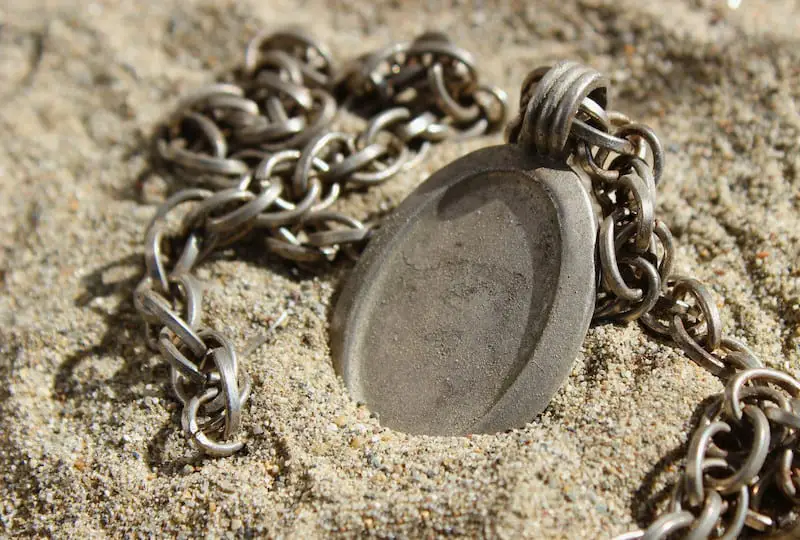
Metal detecting for relics is one of the most rewarding hobbies out there. I am a huge history buff, and love nothing more than discovering pieces of history firsthand. Relics litter the land in almost every corner of the globe.
They’re just waiting for someone to dig them up and bring them back to life. This article will give you 50 tips to help you metal detect for old relics.
1) Plan Your Trip
For any metal detecting trip to be successful, you should plan well before you leave the house. I like to make a checklist of all the things I will need, do some research, test my gear, and choose my location. Planning well will make your trip less stressful and more efficient.
Part of proper planning involves making sure you have the right detector by your side. Below, please use the interactive guide to view five of the more popular metal detectors available on Amazon:
| Photo | Model | Price | Features |
|---|---|---|---|
 | XP Deus Wireless | $$$ | 11” DD Coil |
 | Garrett AT Max | $$$ | Waterproof to 10 feet |
| Bounty Hunter TK4 Tracker IV | $ | 8” Waterproof Coil |
2) Research
Relics can be found all over the globe. Before you begin any search, do some research on the area you’ve chosen to hunt. Anywhere people have lived before or travelled through has the potential to produce relics.
3) Visit Your Local Library/Records Hall
Libraries and records halls will have information about your local area. Perhaps you live in an area where Civil War battles took place. Or maybe you grew up in Butch Cassidy’s old stomping grounds like I did. No matter what area you live in, there is history to be found.
Check for old maps, news articles, and books about the history of your area, or the area you’ve chosen to hunt. This will help you have an idea of where to look and what to look for.
4) Choose the Proper Metal Detector
Not all metal detectors are created equal. It is important to research the different types and brands of metal detectors to ensure you choose the proper machine for your skill level, budget, and desired target.

Very low frequency (VLF) detectors are the most common detectors, and all major detector brands will have VLF detectors. Pulse induction (PI) detectors are becoming more common, and most companies have one or two models. Each have their pros and cons, so be sure to research which will be most effective for you.
5) VLF Detectors
VLF metal detectors are the most common type of metal detector. Many times, entry level and intermediate metal detectors are VLF. They are typically easier to use and require less knowledge to run. I recommend a VLF detector for beginners. It is important to get a VLF model with good ground balancing and discrimination.
Many locations have highly mineralized soil. If your machine does not ground balance well, you will have a lot of interference from this type of soil. I recommend looking into the following brands:
- Garret
- Fisher Labs
- Teknetics
- Tesoro
- Nokta/Makro
- Minelab
- White’s
Each of these brands has models specifically for relic hunting. Many models are easy enough for beginners to use but have enough features to keep more advanced detectorists happy.
6) PI Detectors
Pulse induction machines work differently than VLF machines. They typically search deeper than VLF machines and are fantastic in saltwater environments. They don’t have discrimination, which can be problematic in certain environments.
PI machines are better in highly mineralized soils but can be more expensive and heavier than VLF detectors. Research PI machines, and if you think they are right for you, check the same companies listed in the VLF section.
7) Choose the Right Search Coil
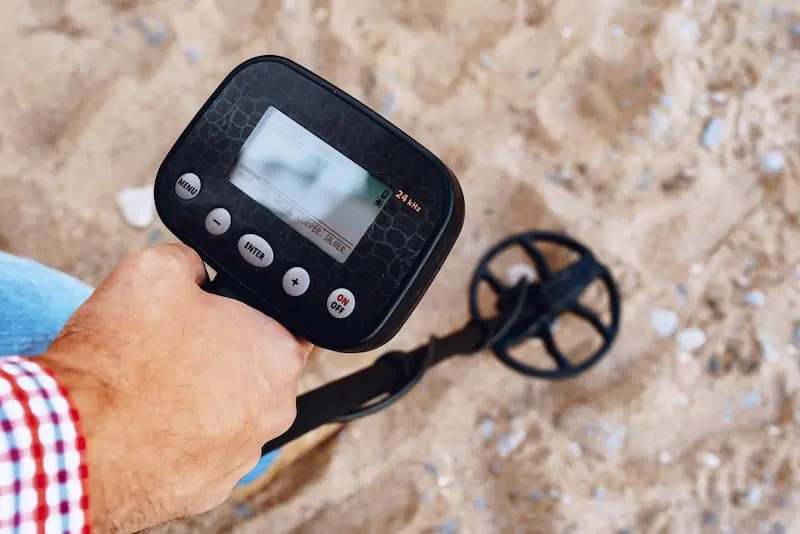
Many metal detectors have interchangeable search coils. Concentric coils will search deeper than wide scan, but the discrimination will be different.
The larger the search coil the deeper it will scan, but a smaller coil can get into smaller spaces and operate better in mineralized soils. Research the best type of coil for the soil in your area and your chosen targets.
8) Handheld Detectors
A handheld metal detector, or pinpointer, is a great tool to take along with you on your hunting trips. Once you have located a target with your metal detector, the pinpointer can help you zero in on it.
Using a pinpointer means you won’t have to dig such a big hole, which is a bonus! Most metal detector brands make pinpointers. Consider getting a Garrett PinPointer or a Teknetics PinPointer.
9) Accessories
Metal detecting for relics requires additional accessories. For digging, you will want to bring a small hand trowel, and a full-sized metal detecting shovel. The hand trowel will work well for smaller targets, but you won’t want to dig large targets with it.
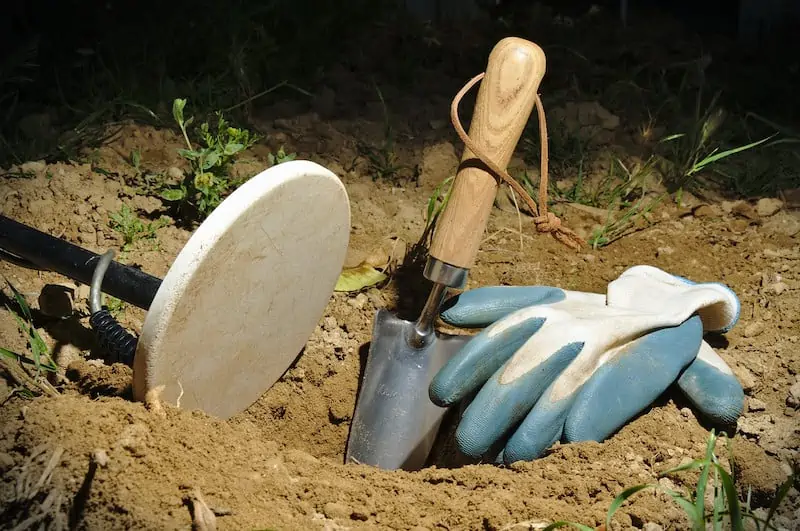
The full-sized shovel will come in very handy for this. You may consider taking a backpack to carry your gear. I also bring along a pouch to keep my finds in, so I don’t have to constantly get in my backpack to put my finds away.
- You might also want to read: 10 Metal Detecting Accessories Needed for Treasure Hunting
10) Don’t Go Cheap on Digging Equipment!
Relic hunters may need heavier-duty equipment compared to other types of detectorists. The soil is often hard packed in areas where relics are located. Because of this, you don’t want a cheap, light duty shovel. Trust me. You will regret it! I took a cheaper, small shovel while relic hunting last summer in the woods above Boise, Idaho.
My back hurt for days from bending to dig, and the shovel wasn’t very good at getting through the hard soils. A full-sized, heavy-duty shovel is your best bet. You may also want a good quality gardening knife, which has serrated edges to cut through roots and sod. These can save time and effort.
11) Read the Instructions, Please
Reading the manuals might sound boring, but it is a necessary part of becoming a great detectorist. The manuals will give you great information about the settings and functions of your machine. My metal detector manual even has a nifty chart in it detailing what target the numbers on the display and corresponding sound most likely are.
I’ve pulled it out numerous times to make sure I’m not just digging tin foil every time. If you’ve got a machine with ground balancing and discrimination, reading the manual is important to learn how to use these and all the other features of your detector.
12) Test Your Tech
I always recommend testing your metal detector and pinpointer at home. Take objects like a gold ring, good quality silver, dime, nickel, penny, quarter, and iron and run them over the detector’s coil or swipe over them with the pinpointer.
Take note of the sound the detector emits (most pinpointers don’t have different sounds, so you really don’t need to test the pinpointer multiple times) and look at the display (if your machine has one) and take note of the number displayed. This is the best way to familiarize yourself with your equipment.
13) Bring Batteries
Many metal detectors require AA or 9-volt batteries. Others have rechargeable battery packs with backup AA or 9-volt power supply. Always make sure to take extra batteries along. If you find yourself in a difficult soil and your detector begins to act up, it will drain your battery quicker than normal.
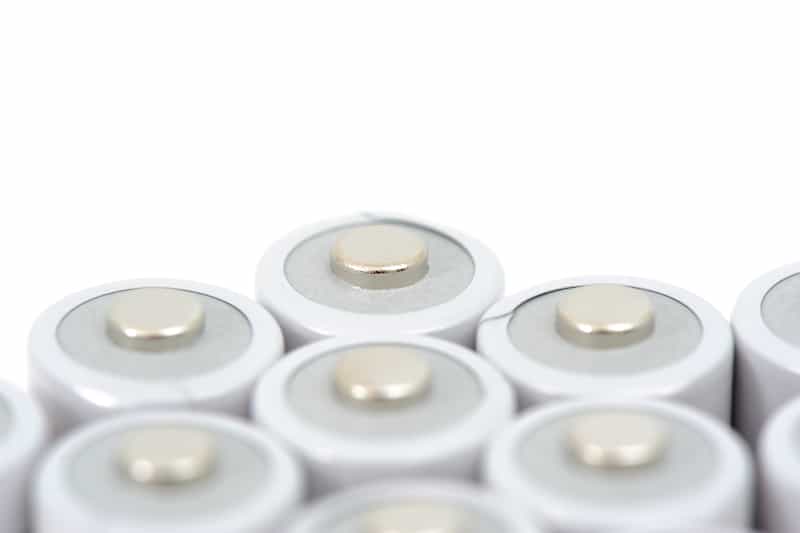
Last time I metal detected in the mountains of northwest Utah the soil was extremely mineralized. My detector went nuts. In a 4-hour hunt, I had to change batteries, whereas in normal soil conditions it will last 7 or 8 hours. You don’t want to be 3 hours from your vehicle, home or camp and not have extra batteries if your detector dies!
14) Bring Some Gloves
Gloves can sometimes restrict your range of motion, but when digging, you should wear gloves. If you’ve ever dug holes with a shovel you know you will get blisters quickly without gloves.
Even lightweight gloves with good grip will help reduce the possibility of blisters. Also, if you are using the hand trowel, you won’t scrape your knuckles on rocks when digging.
15) Headphones
Metal detecting headphones can be very helpful when you’re on your treasure hunt. They can help you hear faint signals that are almost undetectable with the external speaker. But they can also keep you from hearing what is around you.
It is your choice whether you wear headphones or not. I like to take along some headphones and keep them at the ready. That way if I think I hear a faint tone, I can plug them in, but they don’t distract me by being in my ears constantly.
16) Follow a Checklist
One way to ensure you get out the door and on your way efficiently is to make a checklist. This will help you make sure you don’t forget anything. I can’t tell you how many times I have gotten somewhere and wished I had brought something along. A checklist should be made a week or two in advance, so you can add or subtract things from it to keep it perfect for you.
17) Safety First
As with any metal detecting trip, you should always be as safe as possible. Remain aware of your surroundings, and don’t get so wrapped up in your detecting that you block out everything else.
If you are in a remote or very rural area, you should keep an eye out for wildlife or livestock. We ended up with cows on one side of our camp, and bears across the river on the other side last time we detected in Utah. So, remain aware and keep an eye out for wildlife.
18) Know the Laws
All U.S. states have their own laws regarding metal detecting. Laws can be federal, state, city, county, town, school district, or park. Ensure that the area you have decided to metal detect is public property, or that you’ve sought the proper permissions to detect on the land.
Historical sites and archaeological sites have their own laws, the American Antiquities Act, the Archaeological Resources Protection Act, The National Historic Preservation Act, and the Native American Graves Protection and Repatriation Act.
Be sure to familiarize yourself with these laws, and any other state, local, or federal laws that apply to your chosen search area. Take the time to research thoroughly, as you will be slapped with a fine if you detect in areas where it is forbidden.
- You might also like: Metal Detecting Laws: Where Can I Detect Treasure?
19) Watch for Private Property
Be sure to keep an eye out for private property signs. Although they should be clearly posted, in more remote areas, these signs may be less visible.
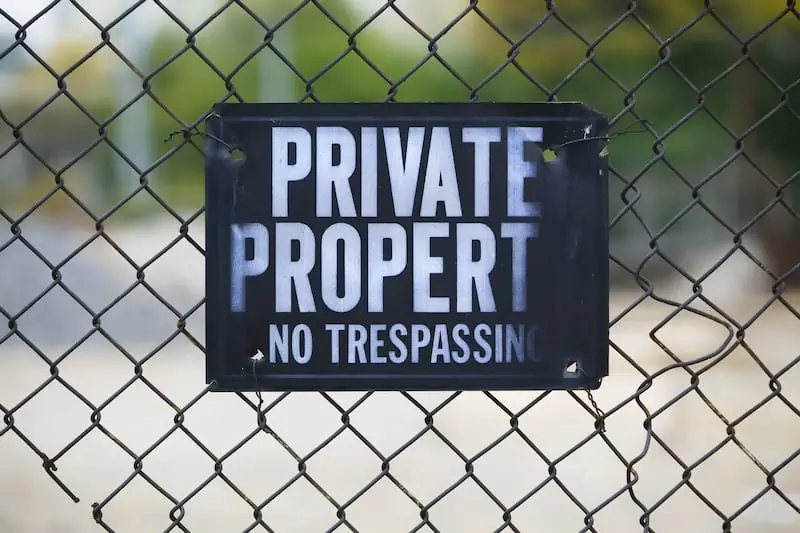
Watch for fence lines, marks or signs on trees, or other indicators that the property may not be open to the public.
20) Stay off State or Federal Lands (Unless Permitted)
Most state and federal lands are off limits for metal detecting. National forests permit the use of recreational metal detecting, as do most BLM lands. On Federal Bureau of Reclamation lands, and state parks, detecting is typically forbidden. Some areas are only open to detectorists if they obtain the proper permits.
Ensure that whatever type of land you will be searching, you’ve done your homework and ensured you are doing everything legally. If you are ever in doubt, call your local forest service office, or other state or federal entity, and they will be able to direct you to the information you need.
21) Search Remote Areas
A lot of relic hunting consists of searching in remote areas. These include, but are not limited to, dense woods, mountains, abandoned fields, swamps, ancient settlements, and battlefields. Each will produce its own type of relics, so be sure you know what type of relics you are looking for. You don’t want to dig up an axe head, think its worthless, and find out later it was a piece of medieval or WWI equipment.
22) Take a GPS Device, Map, and Cell Phone
Because a lot of relics are found in remote places, it is always advisable to bring along a GPS device, a paper map, and your cell phone. Keep in mind, electronic devices can cause electromagnetic interference with metal detectors, so you may want to keep them turned off unless you need them. Keeping a paper map with you and mapping out your route will keep you on the right path in the event your GPS device or cell phone battery dies.
23) Searching for Relics Near Rivers
River hunting can be different than traditional land hunting, but most civilizations settled near waterways. There is a good chance you will find relics near or even in rivers and streams. Be aware that relics in waterways can often be buried deeper, as the river is a constantly moving and changing environment.
Make sure that your metal detector has a waterproof coil. You don’t need a fully submersible model unless the water is very deep, just make sure you don’t drop it in the water!
24) Look for Dried Up Creek Beds
These areas once had water running through them or are natural washes for flash floods in the desert. People followed rivers and creeks to get from point A to point B. Anywhere people followed the water has a chance of being home to relics.
25) Watch for Trails
Some trails in remote areas are very, very old. These trails may have been well-travelled in the past, and therefore, have a high likelihood of having relics nearby. Especially watch for trails leading to and from water, as people spent significant time in these areas.
26) Search Meadows and Fields
Meadows and fields are great places to check for relics. Watch for flat areas in your search site. If nothing really stands out along the flat surface, start at the edges of the field/meadow and move inward. You can also mark the location of your finds in fields, which can help you get an idea of the layout of the settlement or building.
27) Look for Old Settlements
Old stone walls, foundations, or chimneys are all signs of previous human settlement. Look for depressions, springs, wells, trash pits, stone structures, bricks, roads, and trails. Researching your area before heading out can give you an idea of early settlements.
28) Look for Large Trees
Large trees are typically the oldest trees around. Large trees could have been used for shade, or rest, increasing the chances that someone sat down nearby and dropped something. With relics, it is also possible someone buried something near a large tree to remember where it was buried.
Tree roots can move items with them as they grow, so search away from the trunk of the tree a distance equal to the width of the widest branches. This is typically where the roots on large trees are.
29) Look for Railroad Tracks
Railroad tracks are a great source of artifacts and relics. These areas were full of workers, haulage vehicles, and camps.
30) Finding War Relics
There are numerous Civil War and Revolutionary War collectible relics including uniform pieces, equipment, buttons, belt buckles, bayonets, canteens, weaponry, and cartridges. Historical maps will show the division between the North and South.
Many battles occurred in the Border States. Kansas, Pennsylvania, Virginia, Georgia, West Virginia, Mississippi, and Tennessee are all places where numerous relics have been found. So, make sure to do your homework if you are searching for Civil War relics.
31) Searching Battlefields
Many battlefields are off limits as they are now national parks or cemeteries, you may not be able to detect on some of them. Ask for permission to hunt land adjoining the battlefield, where the battle may have spilled over. Research where in the area camps were located, or where battle staging areas were.
32) Searching Ghost Towns
The west is full of abandoned ghost towns. Many of these are old mining areas, many of which were abandoned quickly when the ore dried up. Many of the places I like to metal detect are near old mining towns that are now abandoned.
Many of these towns still have buildings standing, but they may not be too safe. So be aware if you detect in any abandoned buildings. Also keep watch for wells and other hazards.
33) Searching for Pioneer Relics
As people moved out west, they followed many of the same trails. Settlers would often cast items off their wagons to lighten their overburdened carts as the trail got steeper, declined, weather moved in, or the pack animals weakened or died.
Historical research should tell you the location of some of these areas. For instance, I live near a portion of the Oregon Trail. This portion follows a tributary of the Snake River for a stretch and is a great place to find relics.
34) Walk Your Site Before Detecting
Always walk your metal detecting site before you begin. Take note of the surface soils, looking for indicators of past activities. Keep an eye out of pottery fragments, glass, foundation stones, chimneys, brick fragments, and paths.
35) Keep a Log of Your Finds
It is always a good idea to keep a log of your finds. Document what the item is, where it was found, and when it was found. This will give you a good idea of areas you have already searched and could potentially start to form patterns, so you know the best place to search next. This can be done simply with a pen and paper, or on a computer using Microsoft Word, Excel, or similar program.
36) Follow Metal Detecting Etiquette
Metal detecting etiquette is important for all detectorists to follow. The rules are simple:
- If you dig a hole, fill it back in
- If you find a historically significant item, notify local historians/museums
- If you find a dangerous object, notify the police
- Pack out any trash you dig up
- Obey all laws
- Protect natural resources, wildlife, and property
37) Be courteous
Remember, you are representing all detectorists while you are out and about, so always be courteous and leave a site better than you found it!
38) Don’t Be Afraid to Ask for Permission
If you find an old battlefield site sits on someone’s property, don’t be afraid to ask the property owner’s permission to metal detect. They may say yes! Even if they say no, it is worth asking. Private property may have been searched less than public property, so there may be some terrific relics!
39) Be Respectful on Private Property
If someone allows you access to their property, be sure to remain courteous. You will want to be good at cutting plugs, so you are not tearing up someone’s lawn. Double check all holes you have dug on the property and fill them in properly. Check near tree clusters, around the house, and along any paths in the area.
40) Keep Your Discrimination Down
Turn your discrimination down as low as you can stand. While not everyone is looking for iron relics, a higher discrimination could mask a good target sitting too near a ferrous target.
41) Use the Proper Sweeping Technique
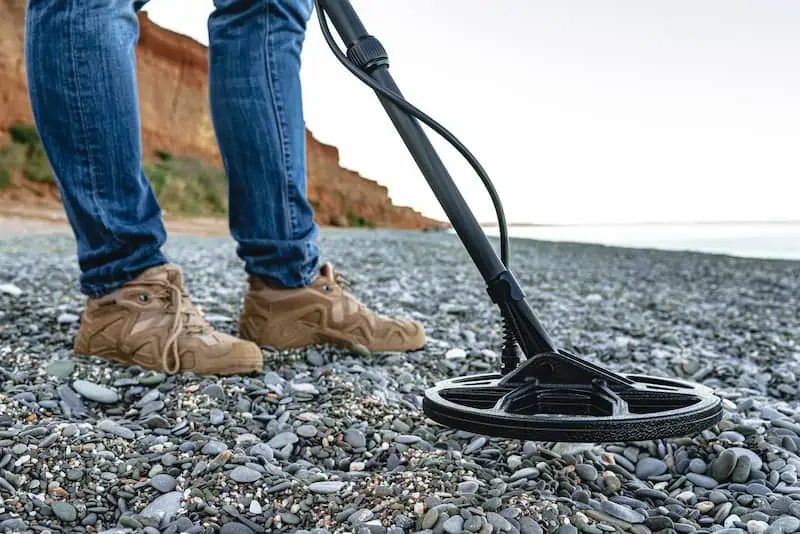
Sweeping too quickly or too high off the ground with your search coil will increase ground noise and cause you to miss targets. For more accurate detecting, keep the search coil close to the ground and swing it side to side smoothly.
42) Double Check All Holes
Relics can often be found near one another. Be sure to double check the target hole, as well as any soil removed from the hole, before refilling.
43) Avoid Cleaning Finds Right Away
While it is extremely tempting to clean your finds immediately, avoid this. Cleaning can damage old relics and coins and reduce their value. Lightly removing the dirt caked on them is okay, so long as you use a very soft brush (like a soft bristled toothbrush), and work in delicate strokes. Do not use any caustic cleaning solutions as they are likely to damage the items.
44) Consider Talking with Local Historians
Speaking with local historians can give you insight into areas to search. Be sure they know you will dig respectfully and respect any relics found. Historians are protective about detectorists digging up history, so be sure to convey your respect. Especially in battleground areas, remember that this is not only a part of American history, but these places are the locations where many people died. Always remember the humanity behind the relics!
45) Read Online Forums
Many forums exist online about pretty much every topic you can think of. Look for relic hunting forums and read through some. These can give you tips like where to go, what to look for, and the best equipment to take along.
46) Read Online Articles
Online news articles can be great sources of information about what has been found in a certain area. If the find is of significant enough value, a news story will be out there. I read a news article from July 2019 about a detectorist who found many Civil War relics in Missouri. These can give you a good idea of the types of items possible in your area.
47) Find a Podcast
There are podcasts out there about a whole host of topics, including metal detecting! One of my favorites is Relics Radio.
They discuss metal detecting and relic hunting, and even take live calls. Podcasts can give you insight into different types of detecting, different areas to search, different types of metal detectors, and a variety of other information.
48) Authenticating Your Finds
You can begin the authentication process with a quick Google search to find similar items and information behind them. You can check local metal detecting clubs for anyone specializing in whatever type of item you have (Civil War specialists, etc.). If you are keeping the item for your own collection, this step may be unnecessary. If you are wishing to sell or donate the item, this is a wise step.
49) Join a Metal Detecting Club
Metal detecting clubs can be a great resource. Many will be well versed detectorists and have wisdom to pass down to you. You may even find new places to detect and new people to detect with. Metal detecting clubs are scattered throughout the United States.
50) Please Be Patient
There is no doubt you will find targets in most areas. The hardest part is staying motivated and positive when all you seem to be finding is junk. I was near giving up on my last metal detecting trip due to the high amount of trash in the area. But I kept at it and ended up finding a couple pieces of native silver! Keep going. Mixed in with all that trash are truly wonderful targets.
51) Have Fun!
This is always one of my most important tips. If you aren’t having fun, you won’t want to keep doing it. Metal detecting requires patience and perseverance. If it were easy, everyone would do it, right? So, keep at it, have fun, stay positive, and find those relics!
- If you enjoyed this article, please “like” our Facebook page!
You Might Also Want to Read:
- 50 Metal Detecting Tips to Find Gold
- 49 Metal Detecting Tips for Underwater Detecting
- 50 Metal Detecting Tips in the Woods
- 8 Metal Detectors Under $1,000 to Find Buried Gems
- XP Deus review
- 8 Metal Detectors for Depth That Will Find Treasure Buried Deep
- Metal Detecting Laws: Where Can I Detect Treasure?
- What’s the Best Tesoro Metal Detector?

