50 Metal Detecting Tips for the Beach
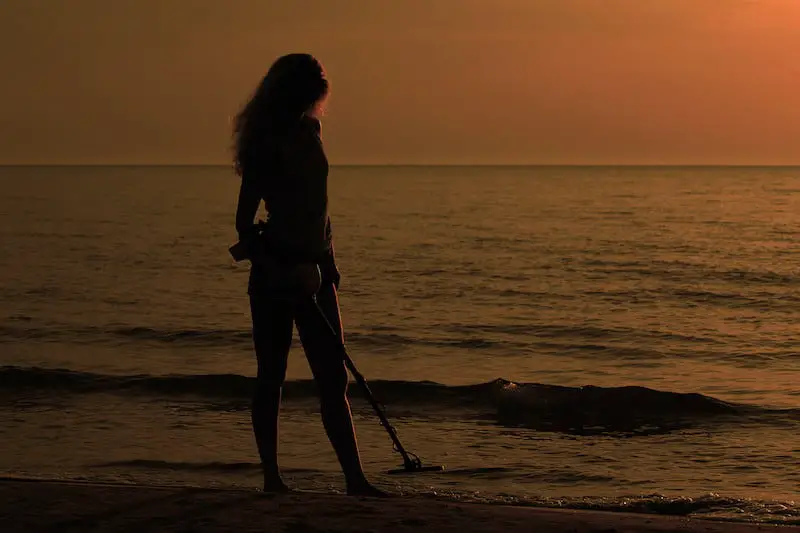
The beach is one of the best places to find lost treasure! The more popular the beach, the more likely someone has lost coins, jewelry, relics, or other valuable items. Even if you’ve done a section of a beach already, tomorrow could bring all new finds as the beaches and oceans are ever changing!
So without further ado, here are my top 50 tips for metal detecting on the beach.
1) Plan Your Trip
All successful metal detecting trips start with a good plan. It is important to be prepared before heading out. This will keep you from wasting time, money, and energy unnecessarily.
A large portion of proper planning involves making sure you have the perfect detector by your side. Below, please use the interactive guide to view five of the more popular metal detectors available on Amazon:
| Photo | Model | Price | Features |
|---|---|---|---|
 | XP Deus Wireless | $$$ | 11” DD Coil |
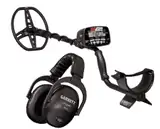 | Garrett AT Max | $$$ | Waterproof to 10 feet |
| Bounty Hunter TK4 Tracker IV | $ | 8” Waterproof Coil |
2) Watch the Weather
Know what the weather forecast is supposed to be before you head onto the beach. You don’t want to be in the middle of a hunt when a strong storm blows in. If it is forecasted to be sunny, don’t forget the sunblock, a hat, and any other type of sun protection you need. You will also want to avoid metal detecting in any electrical storms.
3) Choose the Right Metal Detector
When you are beach detecting, not all metal detectors are created equal. There are 2 types of metal detectors: very low frequency (VLF) and pulse induction (PI). Lower frequency models often have difficulty in saltwater settings, so be sure to do plenty of research before you purchase any type of detector.
You will also want a detector that can find different types of metal, rather than one specifically for gold. Although the gold detector will still find other types of metal, all metal type detectors have different features.
Companies like Garrett, Minelab, Nokta/Makro, Bounty Hunter, Teknetics, and Fisher all make a variety of different detectors for you to choose from.
4) Choosing a VLF Detector
Many VLF models are not set up to detect along saltwater beaches as the saltwater interrupts the detector. VLF detectors are usually easier to use and recommended for beginning detectorists. Most VLF detectors are easy enough to run right out of the box. My very favorite VLF detector for beach metal detecting is the Garrett AT Pro.
This detector is great for relics, coins, jewelry, and even prospecting, and works well on saltwater beaches. It is even waterproof up to 10 feet, so no worries if you get splashed. For freshwater areas, the Fisher F22 is a good beginner or intermediate detector that won’t break the bank.
5) Choosing a PI Detector
PI detectors detect at a greater depth than most VLF detectors and typically have better ground balancing. PI detectors are usually more advanced and should be used by more advanced detectorists. They are often more expensive than VLF detectors.
The Garrett ATX is one of my top picks for a PI detector, although the price is quite high. This model works very well on saltwater beaches, freshwater beaches, and all other terrains. White’s TDI BeachHunter is great in saltwater environments, as well as other terrains. This detector is submersible up to 25 feet and is less expensive than the Garrett ATX.
6) Choosing a Handheld Metal Detector
Pinpointers can help significantly with your beach hunt. Rather than having to scoop as much sand as the size of your coil, a pinpointer can accurately lead you to your target with less digging. The Garrett Pro Pointer AT. This pointer is waterproof up to 20 feet and is extra sensitive to targets.
7) Read Your Manuals
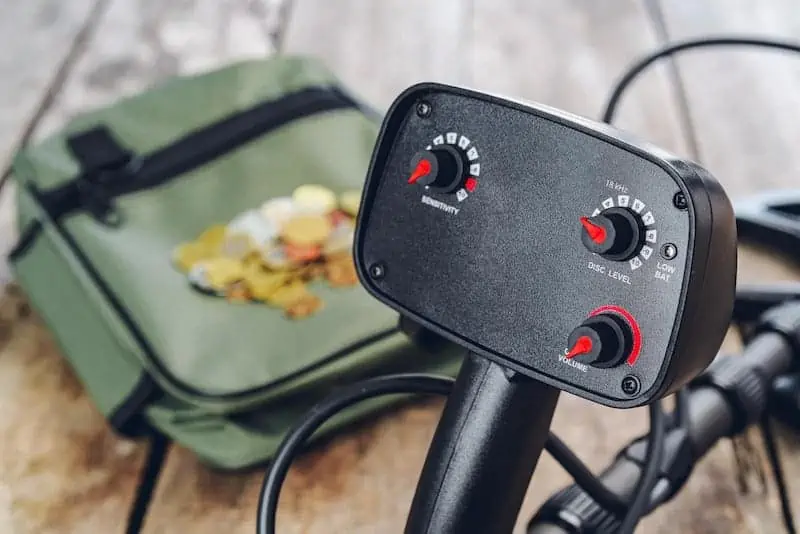
Reading your manual is the best way to begin to understand your metal detector. When you have finished reading the manual, read it again. I keep my manual in my metal detecting bag. I have been in situations where the detector acted a certain way or gave a strange signal, and the manual helped me troubleshoot.
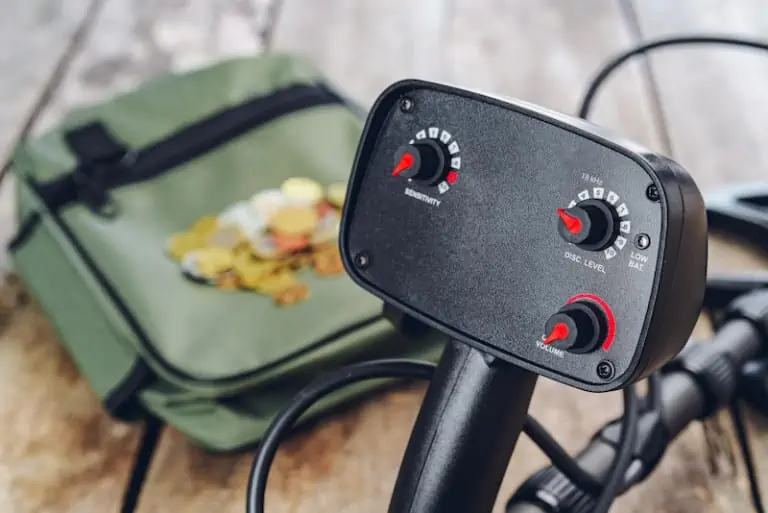
The manual for my Fisher F11 also has a chart showing the most likely targets for the readings on the control box. This helped me understand better the sounds and signals the detector emits.
8) Don’t Forget the Accessories
Along with your detector and pinpointer, you will want to bring along some other items for a successful metal detecting trip. Since you will be in a beach setting, a good sized metal detecting shovel is a great idea. These are like sieves with holes for the sand to come out of, while leaving your finds inside.
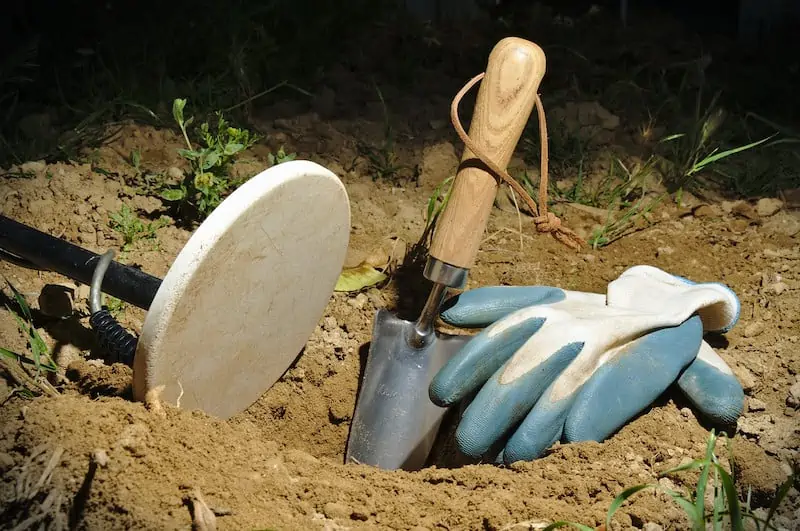
They are also good for moving large quantities of sand quickly. You will want a digging tool, such as a good quality hand trowel. A pouch to keep your treasure in is recommended. A backpack is a good idea to keep all your supplies in.
- You might also want to read: 10 Metal Detecting Accessories Needed for Treasure Hunting
9) Use Headphones on Your Next Hunt
Another accessory you may want to bring is a pair of metal detecting headphones. Most detectors have a port to plug headphones in, while higher end detectors have wireless connectivity. Wearing headphones not only allows you to hear faint signals better but keeps those around you from hearing your detector constantly. Try to be considerate to others while you are detecting.
- You might also want to read: What Are the Best Headphones for Metal Detectors?
11) Saltwater Beach Detecting
Because salt is a conductive substance, the concentration of it at saltwater beaches can throw some metal detectors off. Soils like these are best searched with a PI detector, or a VLF detector with excellent ground balancing. You will know if your detector is not properly suited to a saltwater environment if it continually acts erratically.
The control box will flash (if it has an LED screen; not all models do), and beep erratically. Sometimes a simple reset is all it needs, or to ground balance the machine. Other times the soil is just not suited to the type of detector.
- You also might enjoy: What’s the Best Salt Water Beach Metal Detector?
12) Freshwater Beach Detecting
Both VLF and PI metal detectors will work well in freshwater environments. Some water bodies have highly mineralized soil around them and could interfere with a VLF detector. While detecting near a creek north of Boise, I encountered this, and my detector started acting erratically.
Simply shut the machine off and allow it to reboot. You may have to adjust your sensitivity and manually ground balance, if your machine has this feature.
13) Choosing a Location
Location is important for all types of metal detecting, and beach hunting is no different. The best advice is to find a popular recreating spot. Beaches where people have run, jumped, and played over a summer are going to be loaded with lost items.
If you prefer less of a crowd, wait until fall to detect the beaches in areas where the winter weather is too chilly for beach activities. In areas where the weather is more temperate, you may find there are busier days and avoid those days.
14) Test Your Detector at Home
Any time you get a new detector or are searching for a specific material, you should test your detector prior to a hunt. Take a few items like a gold ring, several types of coins, silver, and iron and place them away from all electromagnetic interference (appliances, cell phones, power lines, etc.) and take note of the different tones each target emits.
If you have a visual target ID on your machine, try to associate the tone with the number the target produces. Some targets are quite close in sound (like iron and gold) so it is very important to learn the different tones your metal detector makes.
15) Bring Extra Batteries
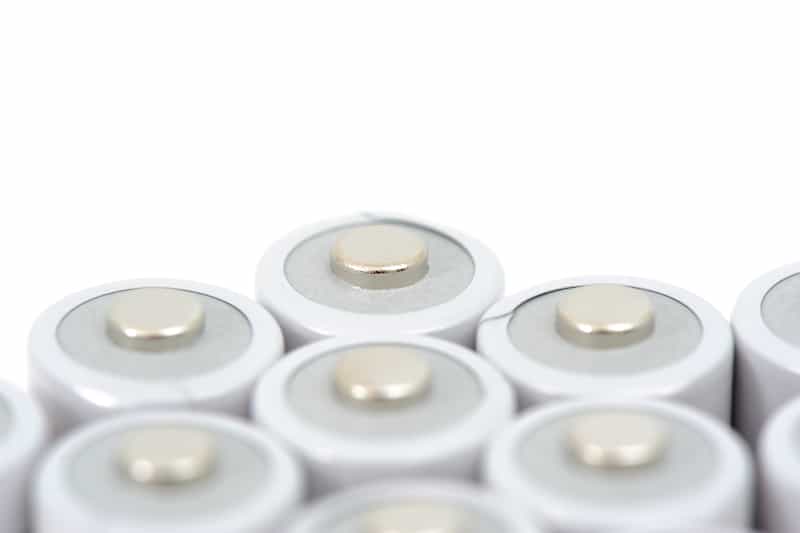
Many models of metal detectors have built-in rechargeable batteries. Most of these have a standard battery backup. Others still require AA or 9-volt batteries. It is always recommended that you bring along plenty of extra batteries. When my detector acts up due to mineralized soil or electromagnetic interference, it drains the battery quicker.
16) Know the Laws
Each state in the U.S. has its own set of laws regarding metal detecting. Despite this, most public beaches allow metal detecting. It is one of the most popular beach activities! Always be sure to search for local laws regarding metal detecting before heading out.
- You might also like: Metal Detecting Laws: Where Can I Detect Treasure
17) Check Out Permits
Some beaches require permits from local authorities before you can legally metal detect. Other beaches may be private property and will require permission from the landowner.
To cover yourself legally, make sure these things are followed strictly. A simple “I didn’t know” won’t cut it and you could be slapped with a hefty fine.
18) Always Follow Safety Rules
Anytime you are metal detecting you should be aware of safety. Always let someone know where you will be and when you should be returning. Keep a cell phone on you to call for help if necessary (you may want to turn it off to reduce electromagnetic interference).
Because you will be near the water, ensure you are a confident swimmer and bring plenty of sunscreen and protective clothing. After you have dug a target, always fill your hole back in to avoid injury not only to yourself, but others along the beach.
19) Be Aware of Your Surroundings
Sometimes we get so focused on what we are doing we block out the entire world. While this can happen while metal detecting, especially if you have headphones on, try to remain aware of your surroundings. You don’t want to be swinging your metal detector, focused intently in front of you, while someone’s dog is barreling at you trying to jump in the water!
20) Use the Proper Settings
It is important to ensure your metal detector’s settings are proper for the environment you are hunting and/or the type of metal you are seeking. The owner’s manual of each machine should have information for setting the unit to different environments and different metal types.
21) Consider a Shoulder Harness
If you plan on detecting on the beach for several hours, your arms may get fatigued from carrying and swinging the metal detector. Consider arming yourself with a shoulder harness with hip attachment.
They are relatively inexpensive and will help take some of the weight off your arms and shoulders. Another bonus of a shoulder harness is if you fall or get swept over by the waves, your detector won’t get pulled out to sea.
22) Swing the Detector Properly
Swinging the detector improperly can seriously impede your hunt. Walk slowly, wave the detector from side to side in even, steady swipes close to the ground. The slower you move your coil the deeper it can search. The typical rule is a 4 second sweep from left to right, and a 4 second sweep right to left.
23) Follow Beach Hunting Etiquette
It is always a good idea to follow good hunting etiquette while scanning the beach. Early mornings or early evenings are the best times to search, and you will be rewarded with more peace and quiet.
If you are hunting while people are around, give them a wide berth so as not to bother them. If you are too near someone, they may claim recently dug property as their lost item, even though it may not be theirs.
24) Grid the Beach
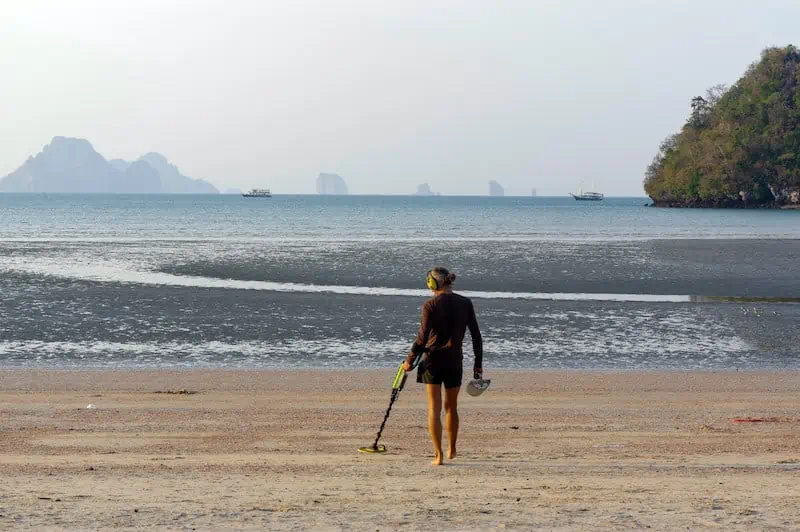
Many detectorists find it easiest to grid the beach. Stay parallel to the water line, then step a foot or two away from the water line.
This way, you can make sure you have covered as much area as possible. Be sure to slightly overlap your previous search area for maximum coverage.
25) Watch the Tides
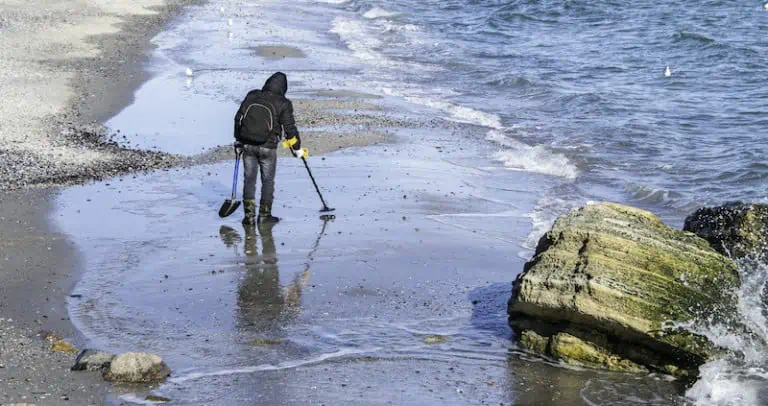
While you can certainly metal detect on the beach at any time of day, make sure you are watching the tides. As the tide ebbs, you will have access to more beach that is usually underwater. Not all beach hunters want to get in the water, so this is the perfect time to hunt that area. Be sure to remain aware of when the tide is coming back.
26) Watch the Current
As well as keeping tabs on the ever-changing tides, keep an eye toward the sea. If you are metal detecting on a pebbly beach, look for the finer sands. Typically, one end of the shore will have larger stones and the other will have finer sand.
The finer sands are the direction the sea has moved, and any look within will have gone along. Look for jetties as objects can get caught in their sweep down the beach.
27) Metal Detect After Storms
While you should not metal detect during stormy weather, after the storm passes is the perfect time to scour the beach. Storms can peel away layers of sand, exposing hidden treasure along with it. During storms, the tide line gets churned up by the increased wave activity. Look in these areas for treasure which may have eluded you before.
28) Harsh Waves Don’t Always Mean More Treasure
While heavy ocean movement can move items toward the beach, it does not always mean targets will be more plentiful. Large waves carry a lot of loose sand, which is deposited onto the beach. This can bury targets deeper. Sometimes areas with slowly lapping water, which moves sand out of an area, are better places to detect.
29) Look for the “Towel Line”
Most beach hunters know the phrase “the towel line.” This is where beachgoers typically place their towels. It will be above the high tide mark. This is where beachgoers dump their belongings, rifle through bags, and apply slippery sunscreen. Objects are lost in this area with great frequency.
30) Focus on the Busy Areas First
While the wide-open area may be tempting, it should be one of the last places you search. Most of the activity will be in the areas where beach traffic is the highest. So, search high traffic areas first, and open spaces after.
31) Look for Activity Centers
Areas along the beach where games are played, like volleyball courts, horseshoes, soccer, football, etc. Check in these areas and the areas surrounding them, as this is where belongings are placed while the beachgoers are playing.
32) Check Exit and Entry Points
Often people are fumbling with their belongings or grabbing something last minute while holding too many things. Scan along walkways, near parking areas, near restrooms, and walls.
33) Look for Unique Beach Features
Any feature on the beach that is unique or out of place, such as trees, piers, lifeguard towers, or sand dunes, will all be popular places for people to place their belongings for the day. Keeping items near these landmarks makes it easier for people to remember where they’ve left their belongings, so they are common areas where things are lost.
34) Search Troughs
Troughs are areas where the sand dips close to the water line. Troughs are typically visible running parallel to the shore. Troughs are great places for loot to end up but search them quickly as they are often temporary. As the sea ebbs and flows, these areas can shift and change. While the towel line will be there tomorrow, troughs may not.
35) Search Scallops
Scallops are like troughs, but for during the transition from high to low tide. They run perpendicular to the beach and look like sandy humps. The lower section of scallops funnel wave action and the higher parts have little sand movement. Items will settle in certain locations on the flat area of a scallop or where the slope starts to diminish.
36) Finding a Pocket
Pockets are concentrations of items found on beach areas. Go very slowly in these areas and scan carefully. Where there is one target there is often others, and these pockets can contain numerous coins, pieces of jewelry, and other items.
37) Look for Fire Pits
Many beaches have fire pits. Just remember an area near a fire pit is likely to be full of trash items like aluminum foil, food wrappers, and soda cans. Know your detector well before attempting these areas or you will likely get discouraged by the number of trash targets.
When I detect in areas with fire pits, I always find a lot of trashy targets. But occasionally there is a little gem stuck in there with all those melted bits of foil!
38) Look for Private Areas of the Beach
Sometimes people want to enjoy the beach but avoid the crowds. They may walk down the beach a way and find a more private area or even a little rock outcropping or cave to stash their belongings in. Always be extremely careful if you enter any cave-like structure on the beach, as they can be very unstable.
39) Look for Clues in the Sand
Watch carefully for the consistency of wet sandy areas. Hard packed sand will often indicate something lies below. Shells or rocks near the hard-packed area can be a good sign as it shows potential for metallic targets.
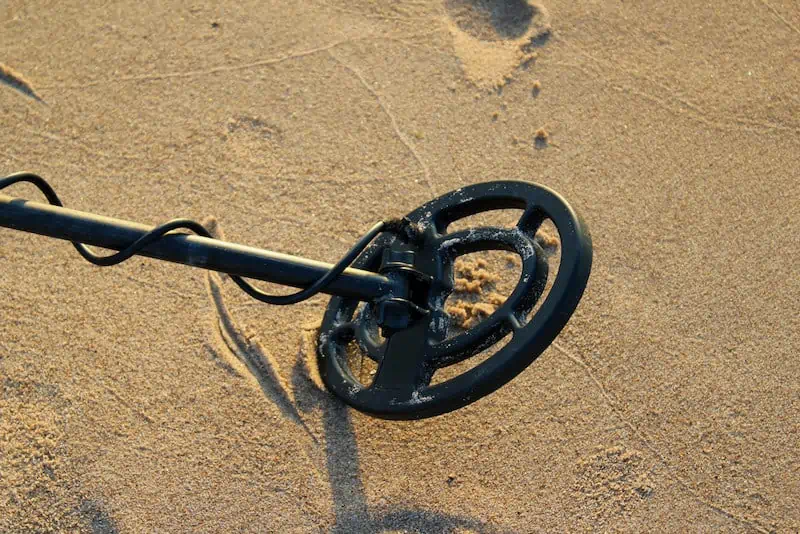
Most items get stuck in the rock/shell/clay layer of sand under the softer sand. So, the closer you are to this layer the easier it will be to dig your targets.
40) Use Your Sand Scoop to Avoid Frustration
Once you’ve found a target on the beach, you will dig it up, right? Well, anyone who has ever dug in sand knows how seemingly impossible it is to dig a clean hole in sand. Dry sand either fills the hole back in immediately, or damp sand allows water to seep in.
Using a good sand scoop can make this frustrating process a little easier. Always scan the piles of sand you have moved before moving away from the area. If you are digging near the surf, be quick and keep an eye on the waves as they can pull the target out to sea. While you are shaking sand out of your scoop, try to remain downwind of other beachgoers so the sand doesn’t fly into their face.
41) Watch for Rock-Filled Areas
Many sandy beaches have outcroppings of stone or pebbles. These are called hotspots because stones can trap coins, rings, and other items preventing them from being washed away in the tide or weather event. Take your time scanning these areas if you come upon one and remember the changing tides may bring new treasures to rest in these rocky areas so check them regularly!
42) Detect in Rock Pools
Tidal action makes rock pools natural holes twice daily, and treasures can often come to rest here. People tend to take a dip into these rock pools too, so there is always the chance they have dropped some item inside. Take caution to wear shoes with good grip specifically for walking in water as these rock pools can be very slippery.
43) Move Slowly While Detecting in the Water
It is difficult to see what is under the water, no matter how clear it is. On a beach, with waves coming and going, it will be very difficult to see under the water.
In these cases, be sure to move very slowly with your detector and keep your swings overlapping. Be sure not to go too deeply, as it will be more difficult to recover an item without specialized gear.
44) Dig All Targets
Many machines can discriminate trash targets, but sometimes digging all targets is preferable. Small engagement rings may register like a pull tab, and you wouldn’t want to pass up a diamond ring! Another perk to this is after the trash targets have been removed from an area, you can thoroughly scan it knowing you are getting mainly good, solid targets.
45) There May Be Competition
As with any popular hobby, metal detecting on beaches is becoming more popular. You may not be the only detectorist out there. So, try to get there early, stay later, and even try less popular beaches as they may not have been scanned.
46) Move on if Your Area is Unproductive
If you have spent all morning detecting a certain area and have come away empty, it is best to move to a new area rather than getting discouraged. You can try a different area on the same beach, or even a different beach. Remember you may not find something every single time you detect!
47) Read Forums
If you are not sure where to detect in a certain area, look up forums regarding detecting in the area. There are often people who will offer tips on where to search, plus it is encouraging to read what others have found.
48) Keep a Log of Your Finds
Keep a log of all your finds in each area you visit. Once you have compiled enough data, you will be able to determine which areas are the most and least productive. You can use a program like Microsoft Word or Excel, or a simple pen and paper.
49) Recovering Someone’s Property
If you metal detect on a beach, odds are you will find someone’s lost property. This is now your property, legally. But you may wish to reunite certain items with their original owners.
For example, an engraved or school ring, or a cell phone. Most property owners are thrilled to receive their property back. Remember, this is not a required step, but it can sure make you feel good knowing you’ve helped a fellow human out.
50) Remember: You Represent All Metal Detectorists!
When you are metal detecting on the beach, following the rules of beach etiquette and the rules of metal detecting etiquette are important. If you annoy a fellow beachgoer, odds are the next detectorist he encounters he will react negatively. Present yourself well, fill all your dig holes, keep a good distance from other beachgoers, don’t throw sand in their faces, and use your headphones or keep your volume low.
- If you enjoyed this article, please “like” our Facebook page!
You Might Also Want to Read:
